There’s a unique joy that comes with growing your own plants from scratch. Starting seeds indoors not only offers a head start on the growing season but also gives you access to a wider variety of plants than you might find at your local nursery. It’s a rewarding journey that connects you deeply with nature and allows you to nurture life right from your home. If you’ve ever wanted to grow your own vibrant flowers, delicious vegetables, or robust herbs, this ultimate seed starting guide is for you!
Why Start Seeds Indoors?
Many gardeners, from beginners to seasoned pros, choose to start their seeds indoors for several compelling reasons:
- Cost-Effective: Buying seed packets is often much cheaper than purchasing individual starter plants.
- Wider Variety: Seed catalogs offer an astonishing array of plant varieties, including heirloom and unusual types, that you simply won’t find in garden centers.
- Extended Growing Season: For plants with long maturity periods, starting them indoors allows them to establish strong root systems before outdoor conditions are favorable, giving you earlier harvests.
- Control Over Conditions: You can provide optimal conditions for germination and early growth, protecting fragile seedlings from harsh weather, pests, and diseases.
- Pure Satisfaction: There’s immense pride in watching a tiny seed transform into a thriving plant under your care.
Essential Supplies You’ll Need
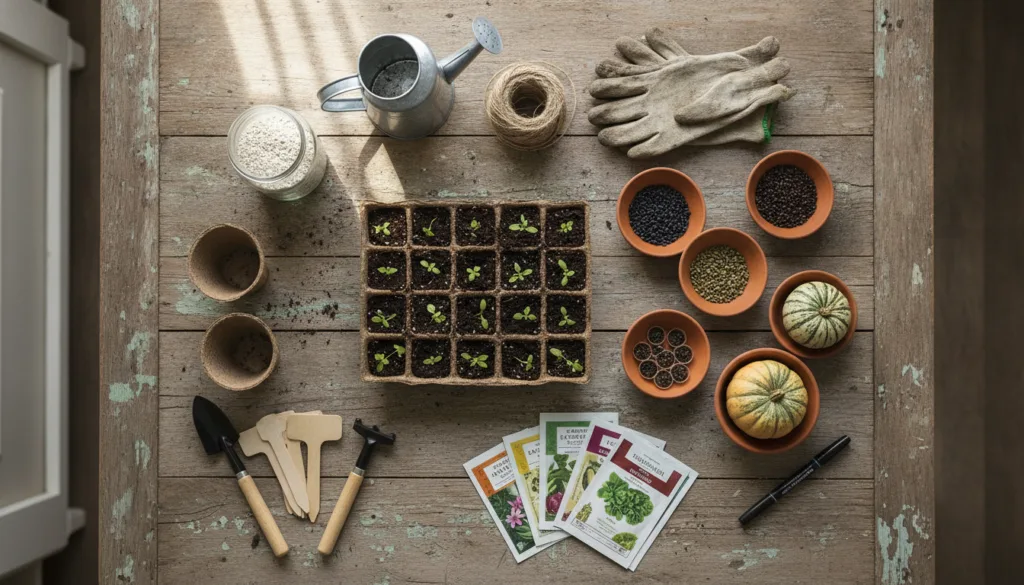
Before you dive into seed starting, gather these fundamental tools:
- Quality Seeds: Always start with fresh seeds from a reputable source. Check the packet for specific planting instructions.
- Seed Starting Trays or Pots: These come in various sizes and materials. Peat pots, cell packs, or even repurposed containers with drainage holes work well.
- Seed Starting Mix: This is a fine, sterile, soilless medium designed for optimal germination. Avoid using regular garden soil, which can be too heavy and may contain pathogens.
- Grow Lights: Essential for strong, healthy seedlings, especially if you don’t have a very bright, south-facing window. Fluorescent shop lights or LED grow lights are popular choices.
- Heat Mat (Optional but Recommended): Provides gentle warmth from below, encouraging faster and more consistent germination for many plant types.
- Labels: Don’t underestimate the importance of labeling! Keep track of what you’ve planted and when.
- Watering Can or Spray Bottle: For gentle, even watering that won’t disturb delicate seeds or seedlings.
Step-by-Step Seed Starting Process
1. Choose Your Seeds Wisely
Before sowing, research your chosen plants. Understand their specific needs regarding germination temperature, light requirements, and the time they need to grow before transplanting outdoors. This helps you determine when to start them indoors relative to your last frost date.
2. Prepare Your Containers and Soil
Fill your clean seed starting trays or pots with moistened seed starting mix. The mix should be damp, not soggy. Gently press down to remove large air pockets, but don’t compact it too much.
3. Sow Your Seeds
Follow the planting depth recommended on your seed packet. A general rule of thumb is to plant seeds at a depth two to three times their diameter. Tiny seeds can often just be sprinkled on the surface and lightly pressed in. Space seeds according to packet instructions to give each seedling room to grow.
4. Provide the Right Environment
- Light: Immediately after sowing, place your seed trays under grow lights. Seedlings need 12-16 hours of light per day. Keep the lights just a few inches above the seedlings, raising them as the plants grow to prevent leggy, weak stems.
- Temperature: Many seeds germinate best with warm soil, often between 65-75°F (18-24°C). A heat mat placed under your trays can be incredibly beneficial.
- Humidity: Covering your trays with a clear plastic dome or plastic wrap can help maintain high humidity, which aids germination. Remove it once most seeds have sprouted.
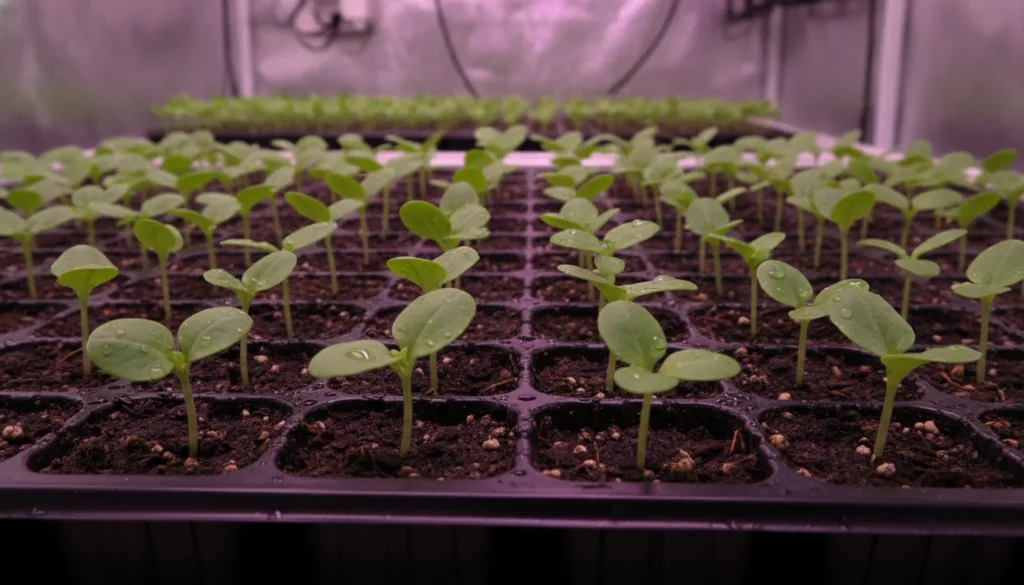
5. Watering and Fertilizing
Water gently from the bottom or use a fine spray to avoid disturbing delicate seedlings. Let the top layer of soil dry slightly between waterings to prevent damping-off disease. Once your seedlings have developed their first set of true leaves, you can begin feeding them with a diluted liquid fertilizer (half-strength is usually sufficient) once a week.
6. Thinning Your Seedlings
If you’ve planted multiple seeds per cell and more than one germinates, thin them to the strongest seedling once they have their first set of true leaves. Snip the weaker seedlings at the soil line with small scissors; pulling them can disturb the roots of the keepers.
7. Hardening Off
Before transplanting your indoor-grown seedlings into the garden, they need a period of