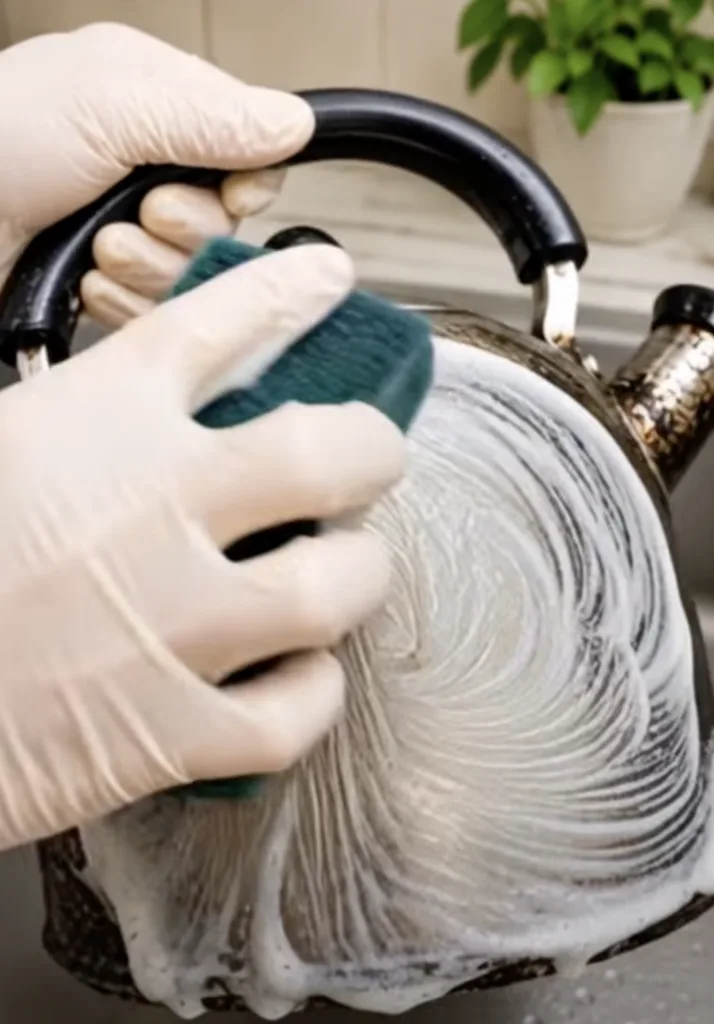
If you regularly use a stainless-steel kettle over a gas stove, wood-burning stove, or open flame, you may eventually notice a thick layer of black soot and burnt-on grime building up on the outside.
Regular washing may not be enough to remove it. Fortunately, you can try a simple DIY cleaning paste made with common household ingredients before reaching for stronger cleaners.
What Causes the Black Buildup?
The black coating on the outside of a kettle is often a combination of soot, grease, smoke residue, and burnt-on deposits. Repeated exposure to flames and cooking oils can gradually bake these residues onto the metal.
The longer the buildup remains, the more difficult it may become to remove with ordinary dish soap alone.
What You’ll Need
For this DIY cleaning method, prepare:
- 2 tablespoons baking soda
- A small amount of dish soap
- A little water
- A small bowl
- A spoon
- A non-scratch sponge or cleaning pad
- Microfiber cloth
- Cleaning gloves
The goal is to create a thick paste, so add the water gradually rather than making the mixture too runny.
Step 1: Make the DIY Cleaning Paste
Add 2 tablespoons of baking soda to a small bowl.
Squeeze in a small amount of dish soap, then add just enough water to help everything combine.
Stir thoroughly until the mixture becomes a thick, creamy paste that can easily stick to the kettle’s surface.
If it’s too watery, add a little more baking soda.
Step 2: Apply It to the Dirty Kettle
Make sure the kettle is completely cool before cleaning it.
Put on your gloves and spread the paste generously over the soot-covered exterior. Concentrate on the darkest areas and places with stubborn burnt-on residue.
Avoid getting the cleaning mixture inside the kettle.
Let the paste remain on the surface briefly to help soften greasy deposits.
Step 3: Gently Scrub the Surface
Using a non-scratch sponge, work the paste over the dirty areas with circular motions.
As you scrub, you may notice the white cleaning paste becoming gray or black as residue is loosened.
Instead of immediately using steel wool or an aggressive abrasive, start with a non-scratch pad. Abrasive tools can scratch polished stainless steel and may damage coated kettles.
For especially stubborn areas, repeat the process rather than applying excessive pressure.
Step 4: Rinse Thoroughly
Once the buildup has loosened, rinse the outside of the kettle thoroughly with clean water.
Make sure all traces of dish soap, baking soda, and loosened residue are removed.
If it’s an electric kettle, do not immerse the kettle, electrical base, plug, or electrical components in water. Follow the manufacturer’s cleaning instructions instead.
Step 5: Dry and Polish
Use a clean microfiber cloth to dry the kettle immediately.
Gently buffing stainless steel with a dry microfiber cloth can help remove water marks and restore some of its natural shine.
The result should be a noticeably cleaner kettle without immediately resorting to harsh cleaning products.
Important Cleaning Tips
Always check the kettle manufacturer’s care instructions first, especially if the exterior is painted, coated, aluminum, enamel, or another specialty finish.
Test your cleaning paste on a small hidden area before applying it everywhere. Never clean a hot kettle, and don’t mix household cleaners such as bleach with acids or other cleaning products.
The Final Result ✨
One of the most satisfying parts of this DIY cleaning hack is watching a heavily blackened kettle gradually reveal its original surface again.
It may take more than one cleaning session for very old or heavily baked-on deposits, but starting with a gentle method can help protect the finish while tackling everyday grime.
Would you try this DIY cleaning hack?
Comment “CLEAN” if you want the quick recipe saved for later! 🫖✨