There’s nothing quite like the satisfaction of cooking with ingredients you’ve grown yourself. And when it comes to flavor, homegrown garlic is in a league of its own! Forget the pale, often mild-tasting bulbs from the grocery store – cultivating your own garlic means a pantry full of pungent, delicious cloves ready to elevate any dish. If you’ve ever dreamed of a bountiful garlic harvest, you’re in the right place. Let’s dig in!
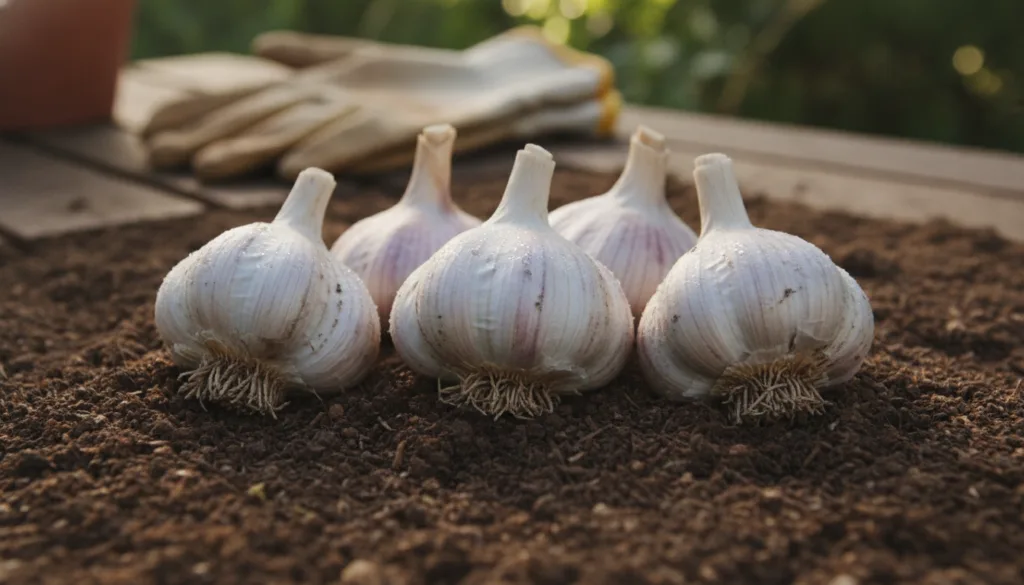
Why Grow Your Own Garlic?
Beyond the incredible flavor, growing your own garlic offers numerous benefits:
- Superior Taste: Homegrown varieties often have a more robust, complex flavor than store-bought options.
- Cost-Effective: A small initial investment in seed garlic can yield a significant harvest, saving you money in the long run.
- Pest Repellent: Garlic can act as a natural deterrent for common garden pests, benefiting surrounding plants.
- Sense of Achievement: There’s immense joy in harvesting something you’ve nurtured from a single clove.
- Health Benefits: Fresh garlic is packed with nutrients and has well-known health properties.
Choosing the Right Garlic: Hardneck vs. Softneck
Before you plant, it’s essential to understand the two main types of garlic:
Hardneck Garlic
- Characteristics: Produces a rigid central stalk (scape) and fewer, larger cloves arranged around it. Scapes are edible and delicious!
- Climate: Prefers colder climates, as it requires a period of cold (vernalization) to form bulbs.
- Storage: Generally has a shorter storage life (4-6 months) compared to softneck varieties.
- Flavor: Often described as having a more complex, spicier flavor.
Softneck Garlic
- Characteristics: Does not produce a hard scape, has multiple layers of smaller cloves, and is easier to braid.
- Climate: Thrives in milder climates and doesn’t require as much cold for bulb formation.
- Storage: Stores exceptionally well, often for 6-9 months or even longer.
- Flavor: Typically has a milder, more classic garlic flavor.
For most home gardeners in temperate zones, softneck varieties like ‘California Early’ or ‘Inchelium Red’ are great choices. If you experience cold winters, hardneck varieties like ‘Music’ or ‘German Extra Hardy’ will thrive.
When to Plant Garlic
The best time to plant garlic is in the fall, about 4-6 weeks before the ground freezes solid. This allows the roots to establish before winter, giving you bigger, healthier bulbs next summer. In milder climates, you can plant a bit later into early winter. If you miss the fall window, you can plant in early spring as soon as the soil is workable, but your bulbs might be smaller.
Preparing Your Garden Bed
Garlic thrives in full sun and well-draining, fertile soil. Here’s how to prepare your spot:
- Sunlight: Choose a location that receives at least 6-8 hours of direct sunlight per day.
- Soil: Garlic prefers loose, loamy soil with a pH between 6.0 and 7.0. Heavy clay soils can lead to smaller, misshapen bulbs.
- Amendments: Work in plenty of organic matter like compost or well-rotted manure. This improves drainage, adds nutrients, and lightens heavy soils.
- Fertilizer: A balanced organic fertilizer can be incorporated into the soil before planting.
Planting Garlic Cloves
This is where the magic begins! Follow these steps for successful planting:
- Separate Cloves: Gently break apart your garlic bulb into individual cloves just before planting. Leave the papery skin on each clove.
- Orientation: Plant each clove pointed-end up and flat-end down. This ensures proper root and shoot development.
- Depth: Plant cloves 2-3 inches deep.
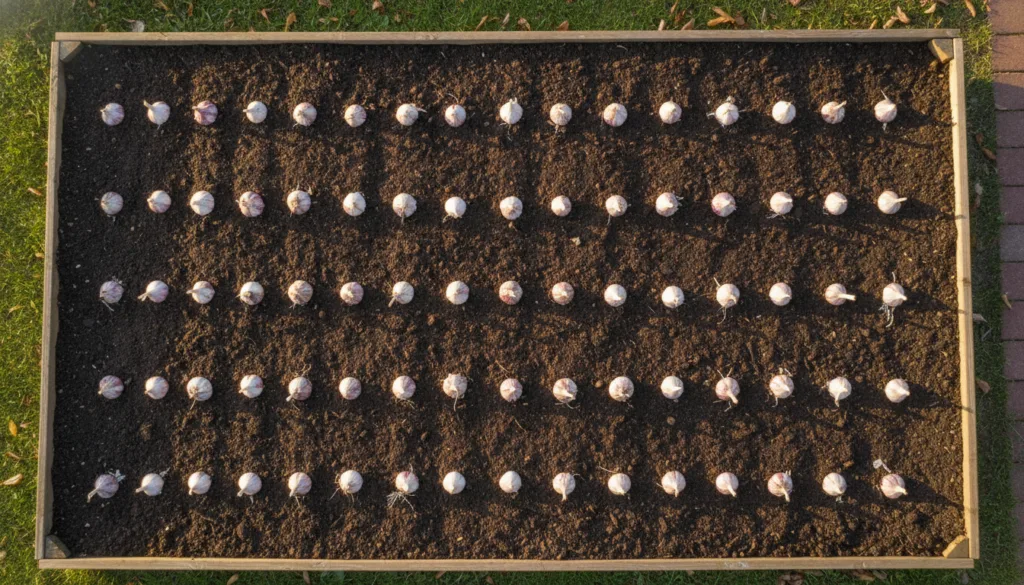
- Spacing: Space individual cloves about 4-6 inches apart in rows, with rows 12-18 inches apart. This gives them room to grow without competing too much for nutrients.
- Watering: After planting, water the bed thoroughly.
- Mulching: Apply a 4-6 inch layer of straw or other organic mulch over the planted area. This helps insulate the soil, suppress weeds, and retain moisture through winter.
Caring for Your Garlic
Once planted, garlic is relatively low-maintenance, but a little care goes a long way.
- Watering: Keep the soil consistently moist, especially during active growth in spring and early summer. Reduce watering as the harvest approaches (typically 2-3 weeks before harvest) to prevent rot.
- Weeding: Keep your garlic bed weed-free. Weeds compete for nutrients and moisture, hindering bulb development.
- Fertilizing: In spring, once green shoots emerge, you can feed your garlic with a nitrogen-rich organic fertilizer or a compost tea. Repeat every 3-4 weeks until early summer.
- Scapes (Hardneck varieties): If growing hardneck garlic, remove the flower stalks (scapes) once they curl. This redirects the plant’s energy into bulb development instead of flower production. Don’t throw them away – garlic scapes are delicious roasted, grilled, or added to stir-fries!
Pest and Disease Management
Garlic is generally robust, but watch out for common garden issues:
- Pests: Alliums (like garlic) have natural pest-repelling qualities, but occasionally onion thrips or nematodes can be an issue. Healthy soil and proper crop rotation are your best defenses.
- Diseases: Fungal diseases like white rot or rust can occur, especially in wet conditions. Ensure good air circulation, avoid overwatering, and plant in well-draining soil. Remove any affected plants promptly.
When and How to Harvest Garlic
Harvesting is the exciting culmination of your efforts! Most garlic is ready between late June and August, depending on your climate and planting time.
- Timing: You’ll know garlic is ready when the lower leaves start to turn yellow and brown, but the top 3-5 leaves are still green. Don’t wait until all the leaves are brown, as this can cause the wrappers to open and reduce storage life.
- Technique: Loosen the soil around the bulbs with a garden fork or spade, being careful not to damage them. Gently pull the entire plant out of the ground.
Curing and Storing Your Harvest
Curing is crucial for good storage.
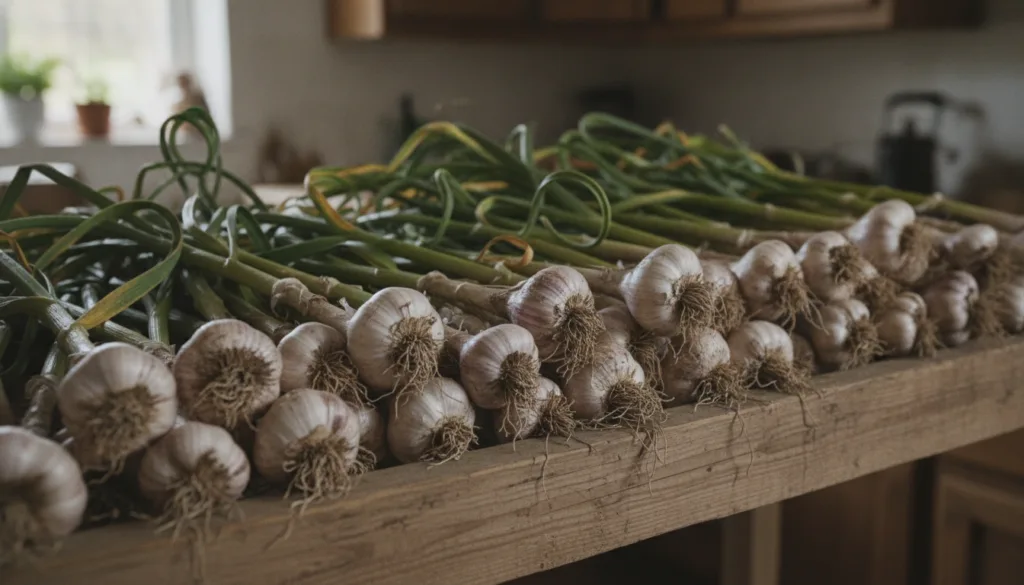
- Curing: After harvest, brush off excess dirt (don’t wash them!). Hang the garlic in a well-ventilated, dry, shady area (like a garage or shed) for 2-4 weeks. This allows the wrappers to dry and seal, protecting the cloves.
- Cleaning: Once cured, trim the roots and cut off the tops, leaving about an inch of stem. Brush off any remaining loose dirt.
- Storing: Store cured garlic in a cool, dark, dry place with good air circulation. Braid softneck garlic for an attractive and practical storage solution.
Enjoy Your Delicious Harvest!
Growing garlic is a rewarding experience that connects you with your food and adds incredible flavor to your kitchen. With a little planning and care, you can enjoy a continuous supply of your very own homegrown garlic. We hope this guide inspires you to plant your first (or next!) delicious harvest.
Do you have any favorite garlic varieties or planting tips? Share them with us in the comments below!