Hey Beauty Besties! Ready for That Radiant Glow?
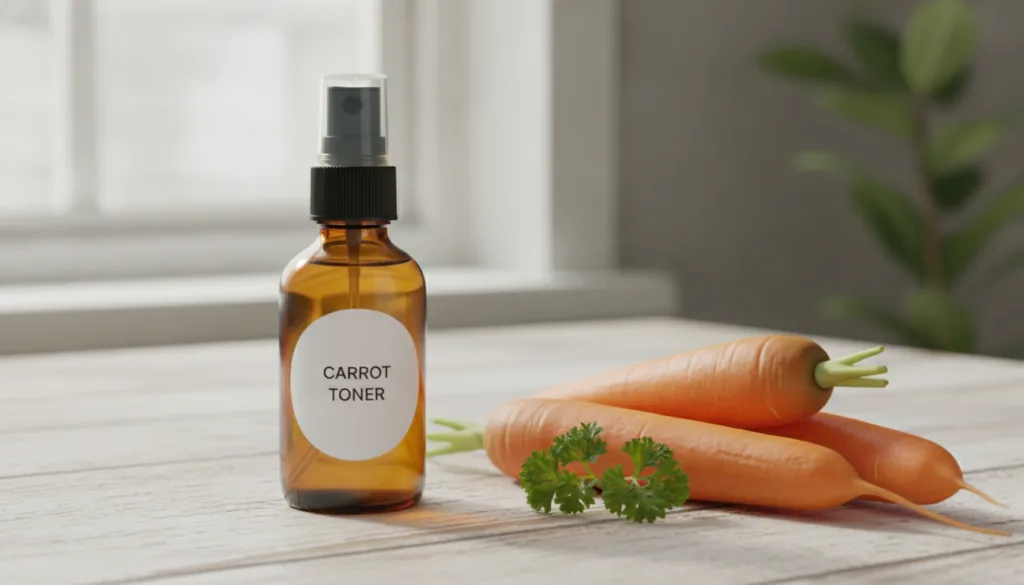
Ever wished for a natural way to achieve that youthful, radiant glow without breaking the bank? What if we told you the secret might just be hiding in your kitchen? You got it! Today, we’re diving into the wonderful world of carrots to bring you an amazing DIY Carrot Toner!
This isn’t just any toner; it’s brimming with natural antioxidants that gently pamper your skin and help smooth away those pesky signs of aging. Get ready to feel fresh, look radiant, and truly shine, all thanks to nature’s goodness. Who’s ready to transform their complexion and embrace naturally beautiful, youthful skin?
Why Carrots Are Your Skin’s New Best Friend
You probably know carrots are great for your eyes, but they’re absolute superheroes for your skin too! Here’s why these vibrant veggies deserve a spot in your skincare routine:
- Rich in Antioxidants: Carrots are packed with beta-carotene, which your body converts into Vitamin A. This powerful antioxidant helps protect your skin from environmental damage and fights free radicals, which are major culprits in premature aging.
- Boosts Collagen: Vitamin A also plays a crucial role in stimulating cell regeneration and collagen production, helping to keep your skin firm and elastic.
- Reduces Blemishes: Their natural properties can help reduce inflammation and soothe irritated skin, making them great for tackling redness and minor blemishes.
- Natural Glow: With regular use, the vitamins and minerals in carrots can help improve your skin tone, leaving you with that coveted healthy, natural glow.
What is a Toner and Why Do You Need One?
If you’re new to toners, let’s break it down! A toner is a liquid skincare product applied after cleansing but before serums and moisturizers. It helps to:
- Balance pH Levels: Cleansing can sometimes disrupt your skin’s natural pH. A good toner helps restore balance, making your skin ready to absorb other products better.
- Remove Residual Impurities: It catches any last traces of dirt, oil, or makeup that your cleanser might have missed.
- Hydrate and Refresh: Many toners add a layer of hydration, leaving your skin feeling fresh and prepped.
Our DIY Carrot Toner does all this and more, with the added benefits of natural anti-aging power!
Your Easy DIY Carrot Toner Recipe
Ready to whip up this skin-loving elixir? It’s super simple!
Ingredients:
- 1-2 fresh organic carrots
- 1/2 cup distilled water (or filtered water)
- 1 teaspoon apple cider vinegar (optional, for balancing pH and extra clarifying)
- 5 drops essential oil of choice (e.g., lavender or tea tree for soothing, optional)
Equipment:
- Blender or juicer
- Fine-mesh strainer or cheesecloth
- Small saucepan
- Clean, airtight spray bottle or jar
Instructions:
- Prepare Your Carrots: Wash and peel your carrots. Cut them into small chunks.
- Blend/Juice: If using a blender, combine the carrot chunks with 1/4 cup of distilled water and blend until smooth. If using a juicer, simply juice the carrots.
- Strain: Pour the carrot mixture through a fine-mesh strainer or cheesecloth into a bowl, pressing firmly to extract all the liquid. Discard the pulp.
- Gentle Simmer (Optional, for better extraction): For a more potent toner, you can gently heat the carrot juice with the remaining 1/4 cup of distilled water in a small saucepan over low heat for about 5-7 minutes. Do not boil. Let it cool completely.
- Combine: Once cooled, transfer the carrot liquid to your clean spray bottle or jar. Add the apple cider vinegar and essential oil (if using) and shake gently to combine.
- Store: Keep your DIY Carrot Toner in the refrigerator to maintain freshness.
How to Use Your Carrot Toner for Best Results
Incorporating this toner into your routine is a breeze!
- Cleanse: Start with a clean face. Wash away makeup and impurities with your favorite gentle cleanser.
- Tone: Spritz the carrot toner directly onto your face (with eyes closed!) or apply it to a cotton pad and gently swipe it across your face and neck.
- Pat: Lightly pat your skin to help absorb the toner.
- Follow Up: Continue with your regular skincare routine – serum, moisturizer, and don’t forget your SPF during the day!
Use your carrot toner once or twice daily, depending on your skin’s needs. Remember to always do a patch test first, especially if you have sensitive skin!
Tips for a Glowing Complexion
- Consistency is Key: Like with any skincare product, regular use will give you the best results.
- Patch Test: Always test new products (even homemade ones!) on a small area of your skin before applying it all over your face.
- Freshness Matters: Since this is a natural product, it doesn’t have a long shelf life. Use it within 5-7 days and make a fresh batch regularly.
- Hydrate from Within: Don’t forget to drink plenty of water throughout the day for truly glowing skin.
- Healthy Diet: Pair your external skincare with a diet rich in fruits, vegetables, and healthy fats.
Ready to Glow?
We hope you’re as excited as we are about this amazing DIY Carrot Toner! It’s an easy, affordable, and natural way to give your skin that extra love it deserves. Say hello to a fresher, more youthful complexion!
Have you tried any DIY toners before? Share your thoughts and experiences in the comments below! We love hearing from our beauty besties! 🥰