Living in the city doesn’t mean you have to miss out on the joy of gardening! Imagine stepping onto your balcony and being greeted by a lush, vibrant display of green. An urban oasis right at your fingertips! If you’ve been dreaming of transforming your compact outdoor space into a thriving garden, you’re in the right place. Today, we’re going to dive into creating beautiful and functional DIY wooden crate planters that are perfect for any urban balcony.
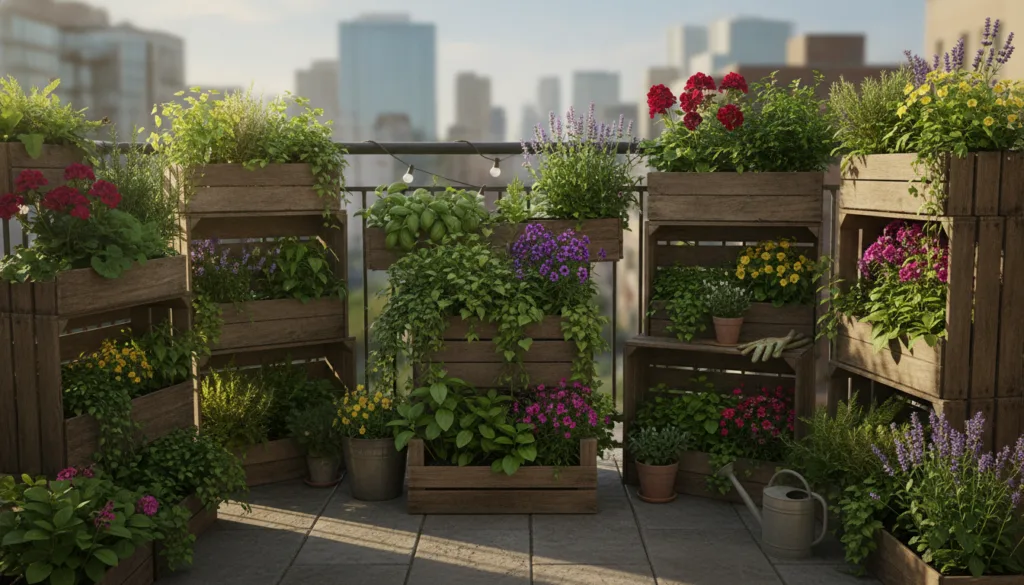
Why Choose Wooden Crate Planters for Your Balcony?
Wooden crates are a fantastic choice for urban gardeners, especially those with limited space. Here’s why:
- Cost-Effective: Often, you can find old wooden crates for free or at a very low cost from local markets, antique shops, or even online.
- Rustic Charm: They add a natural, rustic, and incredibly stylish touch to any balcony decor.
- Versatile: Crates come in various sizes, making them suitable for everything from herbs and flowers to small vegetables.
- Easy to Customize: You can paint them, stain them, stack them, or arrange them in countless ways to fit your aesthetic.
- Good Drainage: Wood is a breathable material, and with a little preparation, crates offer excellent drainage, which is crucial for healthy plants.
Gather Your Materials
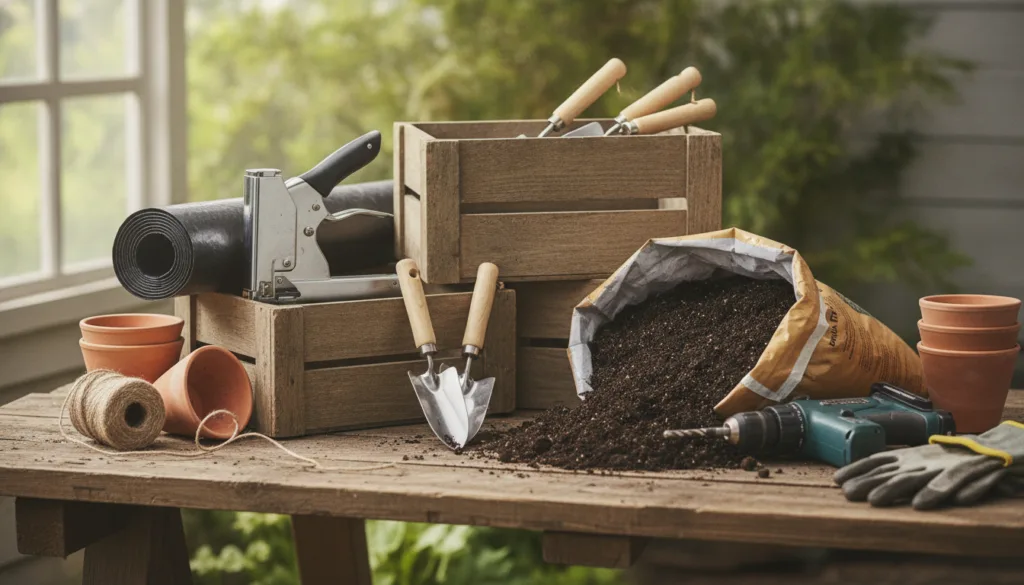
Before you begin, make sure you have everything you need. This project is surprisingly simple!
- Wooden crates (as many as you need for your space)
- Heavy-duty plastic liner or landscape fabric
- Staple gun and staples (or strong adhesive)
- Drill with a medium-sized bit
- Sanding paper (optional, for smoother edges)
- Protective wood sealant or paint (optional, for longevity and aesthetics)
- Potting soil
- Your chosen plants or seeds
Step-by-Step Guide: Creating Your Crate Planters
Step 1: Prepare Your Crates
Inspect your wooden crates for any loose splinters or rough edges. If necessary, give them a quick sand to make them safer and smoother to handle. If you plan to paint or seal your crates, do it now and allow them to dry completely.
Step 2: Add Drainage Holes
Even though crates often have gaps, additional drainage is important. Using your drill, create several holes (3-5 depending on the crate size) in the bottom of each crate. This will prevent waterlogging and keep your plant roots healthy.
Step 3: Line Your Crates
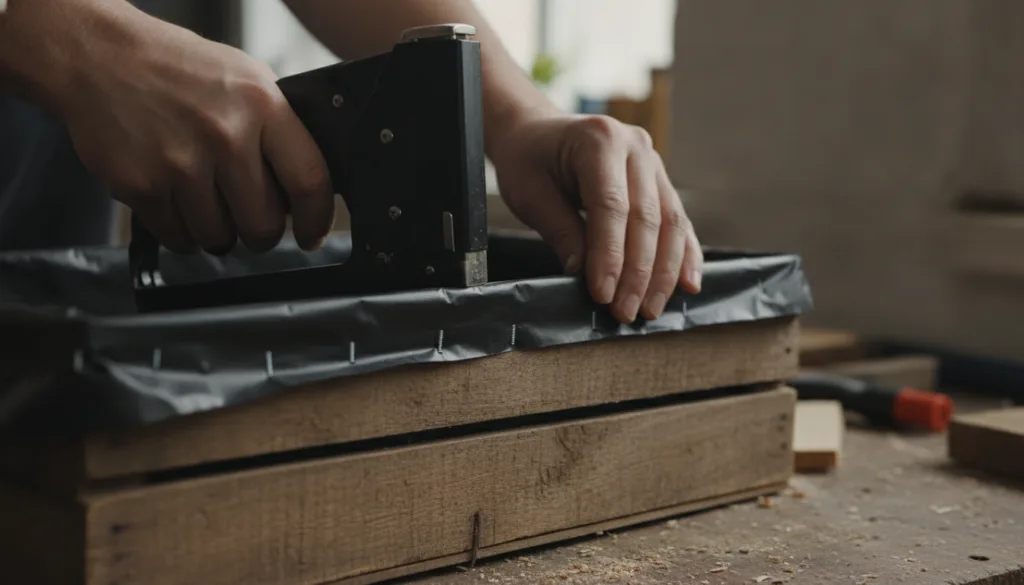
This is a crucial step! Cut your plastic liner or landscape fabric to fit inside the crate, extending up the sides. Make sure it’s slightly larger than the crate to allow for some overlap. Secure the liner to the inside walls of the crate using a staple gun. Leave a little slack at the bottom so water can still drain through the holes you drilled. If using landscape fabric, you might not need to staple as much, just ensure it covers the sides.
Step 4: Fill with Potting Soil
Fill your lined crates with good quality potting soil. Leave about an inch or two of space from the top of the crate to prevent soil spillage when watering.
Step 5: Plant Your Greens!
Now for the fun part! Gently place your chosen plants into the soil. If using seeds, follow the planting instructions on the packet. Space them appropriately to give them room to grow. Once planted, give them a good watering.
What to Plant in Your Balcony Crates
The possibilities are endless, but here are some ideas perfect for container gardening:
- Herbs: Basil, mint, rosemary, thyme, parsley, cilantro.
- Leafy Greens: Lettuce, spinach, kale, Swiss chard.
- Small Vegetables: Cherry tomatoes, radishes, bush beans, small peppers.
- Flowers: Petunias, marigolds, impatiens, nasturtiums, violas.
- Succulents: Create a beautiful, low-maintenance succulent arrangement.
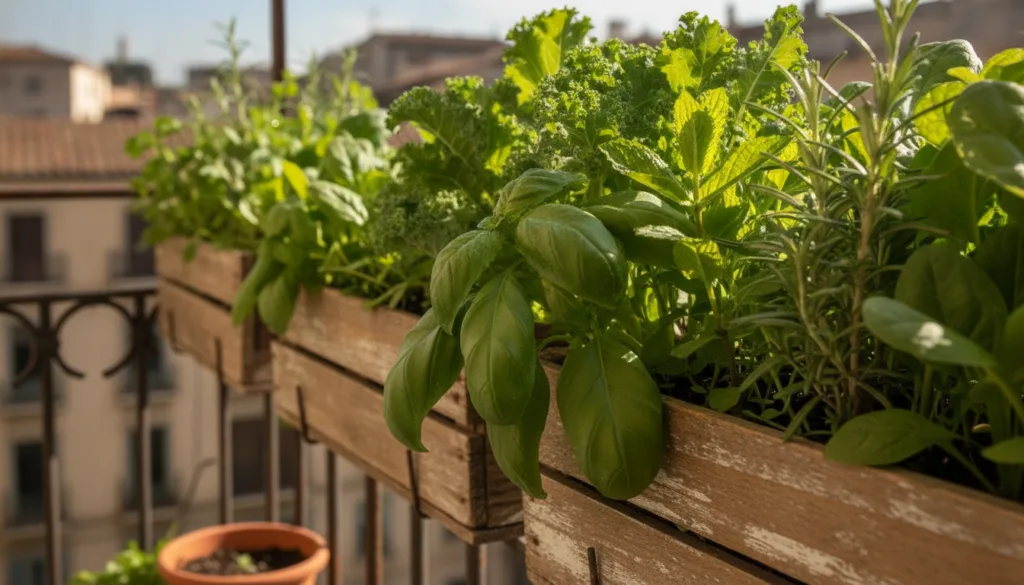
Caring for Your Balcony Garden
- Watering: Container plants tend to dry out faster than garden beds. Check the soil moisture daily and water when the top inch feels dry.
- Sunlight: Most plants need at least 6 hours of direct sunlight. Observe your balcony throughout the day to understand its light patterns.
- Fertilizing: Feed your plants with a balanced liquid fertilizer every 2-4 weeks, especially during their growing season.
- Pest Control: Regularly inspect your plants for signs of pests. Early detection makes control much easier, often with simple organic solutions like neem oil or insecticidal soap.
Ready to Grow Your Balcony Oasis?
Creating your own DIY wooden crate planters is a rewarding project that brings life and beauty to any urban balcony. Not only will you enjoy fresh herbs and vegetables, but you’ll also create a peaceful retreat where you can relax and connect with nature.
We’d love to see your urban green balcony dreams come to life! Share your projects and tips in the comments below. Happy gardening!