Boiled eggs are a simple yet versatile food, perfect for breakfast, snacks, salads, or even as part of a quick meal. But how often do you truly nail that perfect yolk texture you crave? Whether you dream of a runny, dippable yolk or a firm, meal-prep-friendly one, timing is everything.
This guide will help you master the art of boiling an egg, ensuring you get your desired doneness every single time. We’ll explore the different stages of a boiled egg, their ideal cooking times, and delicious ways to incorporate them into your healthy lifestyle.
Why Eggs Are a Healthy Choice
Eggs are a nutritional powerhouse, packed with high-quality protein, essential vitamins, and minerals. They’re an affordable and accessible source of nutrients that can support muscle health, provide sustained energy, and contribute to overall well-being. From Vitamin D to choline, eggs offer a lot in a small package.
Your Guide to Perfectly Boiled Eggs
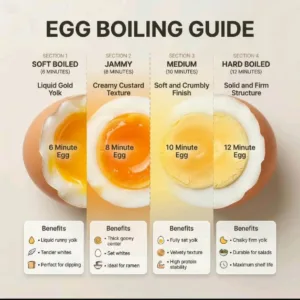
Achieving the perfect boiled egg texture is all about precise timing. Here’s a breakdown of different doneness levels and how to get them just right.
Soft-Boiled Eggs: 3-4 Minutes
- Yolk Texture: Liquid and runny, perfect for dipping.
- White Texture: Just set, still very tender.
- Best For: Dipping toast ‘soldiers’, topping ramen, or serving in an egg cup.
Jammy-Boiled Eggs: 6-7 Minutes
- Yolk Texture: Creamy, vibrant, and slightly gooey in the center.
- White Texture: Fully set but soft.
- Best For: Salads, avocado toast, grain bowls, or as a delightful snack.
Medium-Boiled Eggs: 8-9 Minutes
- Yolk Texture: Custard-like, mostly set but still moist and slightly soft in the middle.
- White Texture: Firm and fully cooked.
- Best For: Sandwiches, curries, or a satisfying protein boost anytime.
Hard-Boiled Eggs: 10-12 Minutes
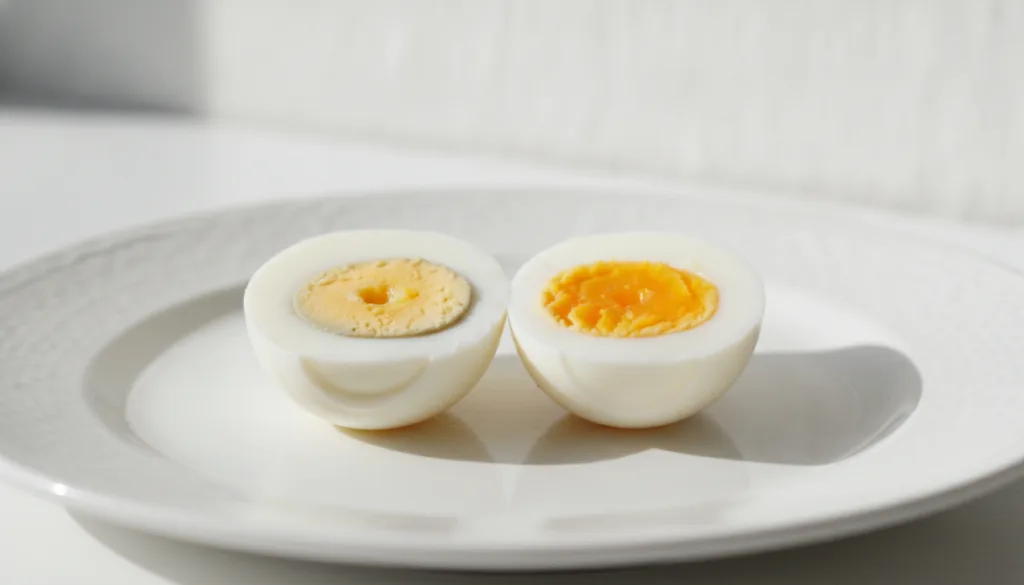
- Yolk Texture: Fully firm, crumbly, and pale yellow.
- White Texture: Completely firm and solid.
- Best For: Egg salad, deviled eggs, meal prep, or chopping into various dishes.
Mastering the Boil: Step-by-Step Instructions
Follow these simple steps to consistently achieve your desired boiled egg:
- Choose Your Pot: Select a pot large enough to hold your eggs in a single layer without crowding.
- Add Water: Place eggs carefully into the pot. Cover them with about one inch of cold water.
- Heat to a Boil: Bring the water to a rolling boil over high heat.
- Start Your Timer: Once the water reaches a full boil, immediately start your timer based on your desired doneness (3-12 minutes).
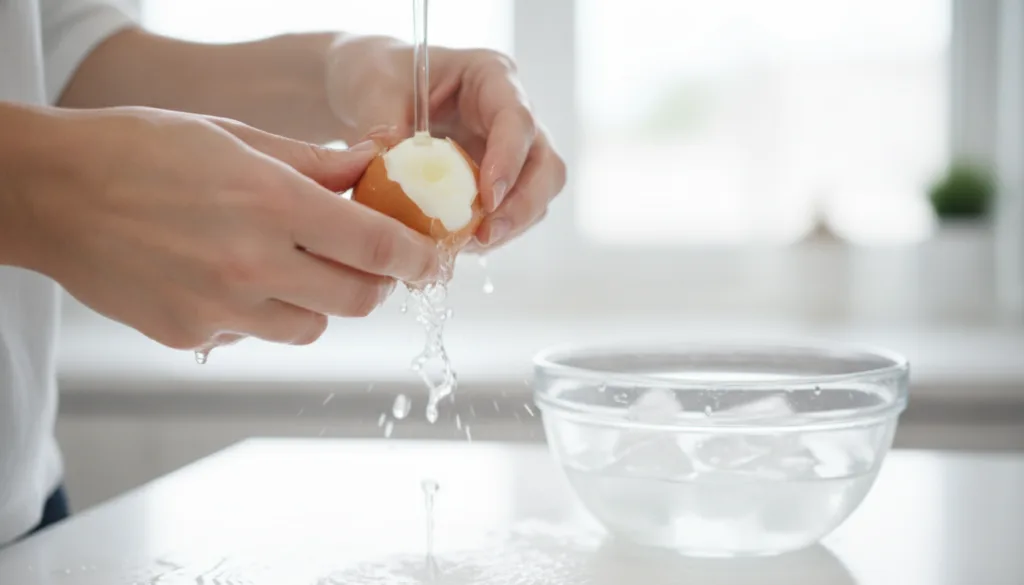
- Ice Bath: As soon as the timer goes off, carefully transfer the eggs to an ice bath (a bowl of ice water). This stops the cooking process and makes them easier to peel.
- Peel and Enjoy: Once cooled, gently tap and roll the eggs to crack the shell, then peel under cool running water.
Practical Tips for Success
- Egg Freshness: Older eggs (about a week old) tend to peel more easily than very fresh ones.
- Room Temperature: Starting with eggs at room temperature can help prevent cracking, though cold eggs from the fridge work fine if carefully handled.
- Don’t Crowd the Pot: Give your eggs space to avoid bumping and cracking during boiling.
- Adjust for Altitude: At higher altitudes, water boils at a lower temperature, so you may need to add an extra minute or two to your cooking time.
- Storage: Peeled hard-boiled eggs can be stored in an airtight container in the refrigerator for up to one week. Unpeeled hard-boiled eggs last even longer, about two weeks.
Creative Ways to Enjoy Your Boiled Eggs
- Breakfast Boost: Slice a jammy egg over avocado toast or enjoy a soft-boiled egg with whole-grain toast.
- Lunchtime Lift: Add sliced hard-boiled eggs to salads, wrap them in lettuce cups, or make a classic egg salad sandwich.
- Healthy Snacks: A medium or hard-boiled egg makes for a quick, protein-packed snack on its own.
- Dinner Delights: Integrate chopped hard-boiled eggs into curries, noodle dishes, or as a garnish for soups.
Common Boiled Egg Mistakes to Avoid
- Overcrowding: Leads to uneven cooking and potential cracking.
- Skipping the Ice Bath: Makes eggs harder to peel and can lead to overcooking.
- Not Timing: Guessing cooking times leads to inconsistent results.
- High Heat Too Long: Can cause the egg whites to become rubbery and the yolk to have a grey-green ring.
FAQs
How do I prevent my eggs from cracking during boiling?
Starting with room temperature eggs, placing them gently in the pot, and not overcrowding the pot can help prevent cracking. You can also add a pinch of salt to the water, which can help seal any tiny cracks that may form.
Why do my hard-boiled eggs have a green ring around the yolk?
A green ring indicates that the egg has been overcooked. This happens when sulfur in the egg white reacts with iron in the yolk, creating iron sulfide. While harmless, it can affect the texture and appearance. An ice bath immediately after cooking helps prevent this.
Can I boil a large batch of eggs for meal prep?
Absolutely! Hard-boiled eggs are excellent for meal prep. Just ensure your pot is large enough to accommodate all eggs in a single layer. Once cooked and cooled, store them in their shells in the refrigerator for up to a week.
What’s the best way to peel a boiled egg?
After an ice bath, gently tap the egg on a hard surface, then roll it to create small cracks all over the shell. Start peeling from the larger end where there’s usually an air pocket, and peel under cool running water to help separate the membrane from the egg white.
Are fresh eggs harder to peel?
Yes, very fresh eggs tend to be harder to peel because the membrane beneath the shell adheres more strongly to the egg white. Eggs that are about a week old generally peel more easily.
Conclusion
Mastering the boiled egg is a simple skill that can significantly enhance your healthy eating journey. By understanding the timing and techniques, you can achieve your perfect egg, every single time. Experiment with different doneness levels and discover new ways to enjoy this nutritious and versatile food.
Ready to try another healthy recipe? Explore more content on our website for delicious and nutritious meal ideas!
This content is for educational purposes only and should not be considered medical advice. Consult a qualified healthcare professional for personalized dietary recommendations.