Cleaning the kitchen can often feel like a never-ending battle, especially when it comes to tackling stubborn grease. From splattered stovetops to sticky countertops and greasy backsplashes, the grime accumulates quickly, making our beloved cooking space look less inviting. Many of us dread the scrubbing and scraping, wishing for a magic solution that could make the job easier and faster.
You’re not alone if you’ve ever felt overwhelmed by kitchen clean-up. The good news is, achieving a sparkling clean kitchen doesn’t have to be a Herculean task. Forget about harsh chemicals or endless scrubbing. This guide introduces you to a simple, yet incredibly effective, DIY cleaning trick that will revolutionize the way you clean your kitchen.
Whether you’re a seasoned home cleaner or just starting to manage your household, this easy-to-follow method is designed for everyone. We’ll show you how to leverage common household ingredients to create a powerful degreaser that cuts through grease with minimal effort. Get ready to transform your kitchen into a gleaming, hygienic space you’ll love spending time in, all while saving time and energy.
Why You’ll Love This Guide
- Incredibly Easy to Prepare: Mix a few common ingredients in minutes.
- Uses Common Household Ingredients: No need for specialized or expensive products.
- Budget-Friendly: Save money by making your own powerful cleaner.
- Beginner-Friendly: Simple, clear steps anyone can follow.
- Highly Effective: Cuts through tough grease and grime with ease.
- Versatile: Works on various kitchen surfaces.
- Time-Saving: Dramatically reduces scrubbing time.
Materials You’ll Need
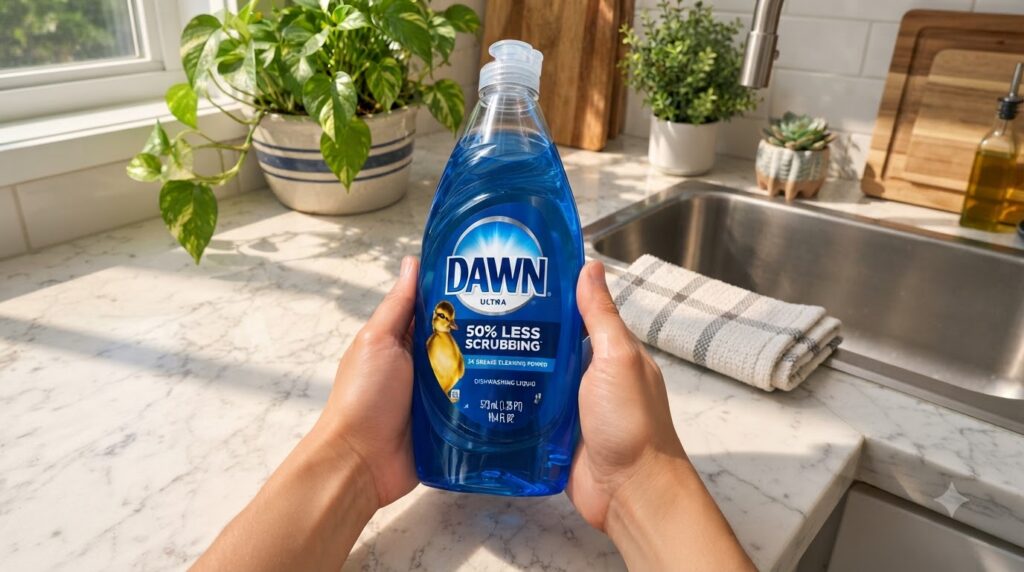
- Dish Soap: 1/4 cup (a strong degreasing variety like Dawn Ultra is recommended for best results).
- Hot Water: 2 cups.
- White Vinegar (Optional, for extra power): 1/4 cup.
- Baking Soda (Optional, for abrasive paste): 2-3 tablespoons.
Equipment Needed
- Spray bottle (for easy application)
- Mixing bowl or measuring pitcher
- Spoon or whisk for mixing
- Microfiber cloths (2-3, for cleaning and wiping dry)
- Scrub brush or non-scratch sponge (for stubborn spots)
- Rubber gloves (optional, for hand protection)
Step-by-Step Instructions: Your Simple Kitchen Degreaser
Step 1: Prepare Your Cleaning Solution (2 minutes)
In your mixing bowl or measuring pitcher, combine 1/4 cup of dish soap with 2 cups of hot water. If you’re opting for extra degreasing power, add 1/4 cup of white vinegar. Stir gently until the soap is fully dissolved and the mixture is well combined. The hot water helps activate the degreasing properties of the soap.
Step 2: Transfer to a Spray Bottle (1 minute)
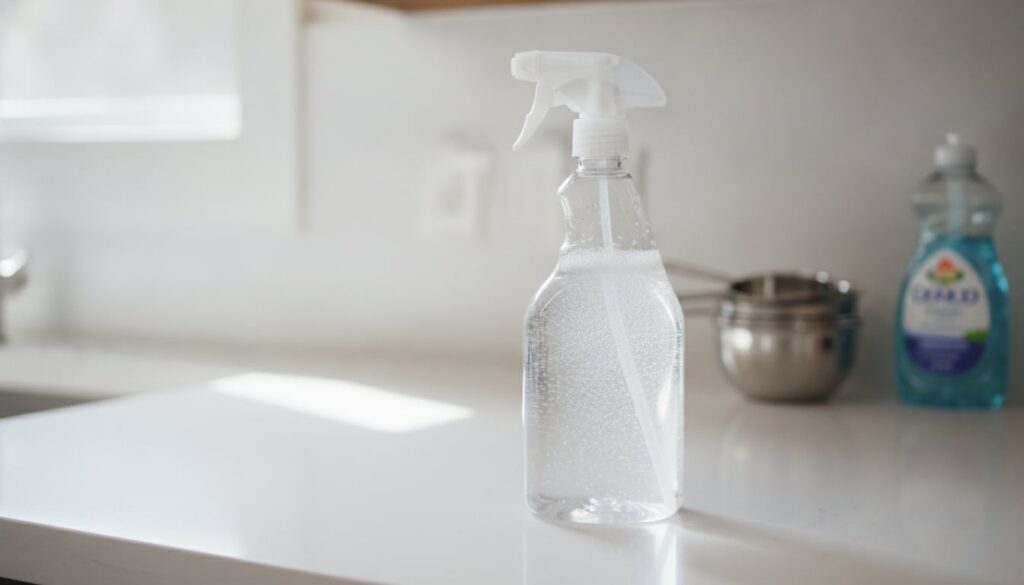
Carefully pour the mixture into a clean spray bottle. This allows for even application and helps you reach tricky spots. Make sure the spray bottle is clean and has not previously contained harsh chemicals.
Step 3: Apply to Greasy Surfaces (1-3 minutes)
Spray the solution generously onto the greasy surfaces you want to clean – stovetops, range hoods, countertops, backsplashes, and even inside the microwave. For heavily soiled areas, ensure a thorough coating. The goal is to let the solution start breaking down the grease.
Step 4: Let It Sit (5-10 minutes)
This is where the magic happens! Allow the cleaning solution to sit on the greasy surfaces for at least 5 to 10 minutes. For extremely tough, baked-on grease, you can extend this time up to 15-20 minutes. The soap and hot water (and vinegar, if used) will work to emulsify and lift the grease, making it much easier to wipe away.
Step 5: Gentle Scrub (2-5 minutes)
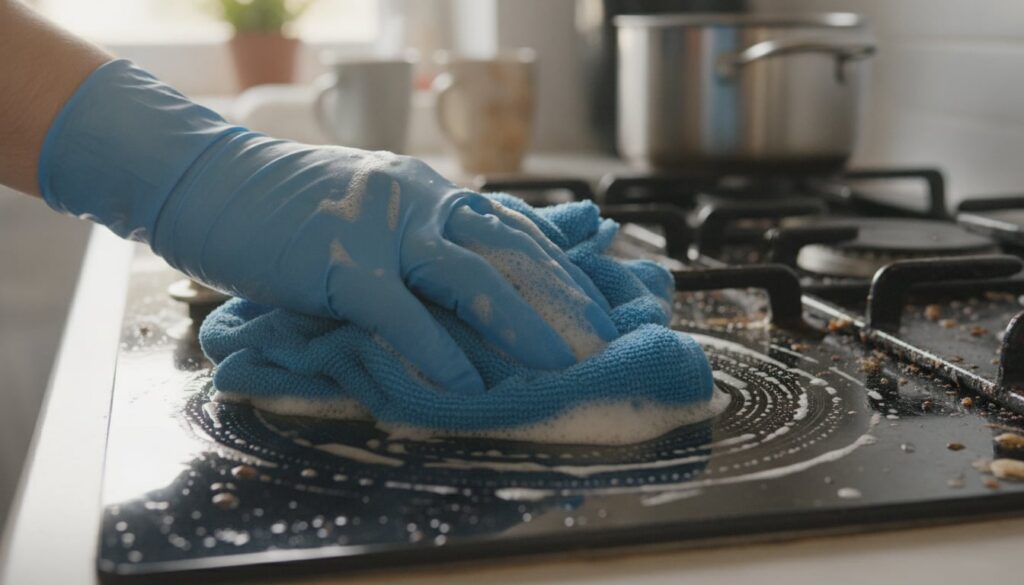
Using a microfiber cloth or a non-scratch sponge, gently scrub the treated areas. You’ll notice the grease and grime lifting away with minimal effort. For any remaining stubborn spots, a scrub brush can be used, but avoid abrasive pads that could scratch your surfaces.
Step 6: Wipe Clean (1-3 minutes)
Use a clean, damp microfiber cloth to wipe away all the loosened grease and cleaning solution. Rinse your cloth frequently in clean water to avoid spreading dirt. Continue wiping until all residue is gone and the surface feels clean.
Step 7: Buff for Shine (1 minute)
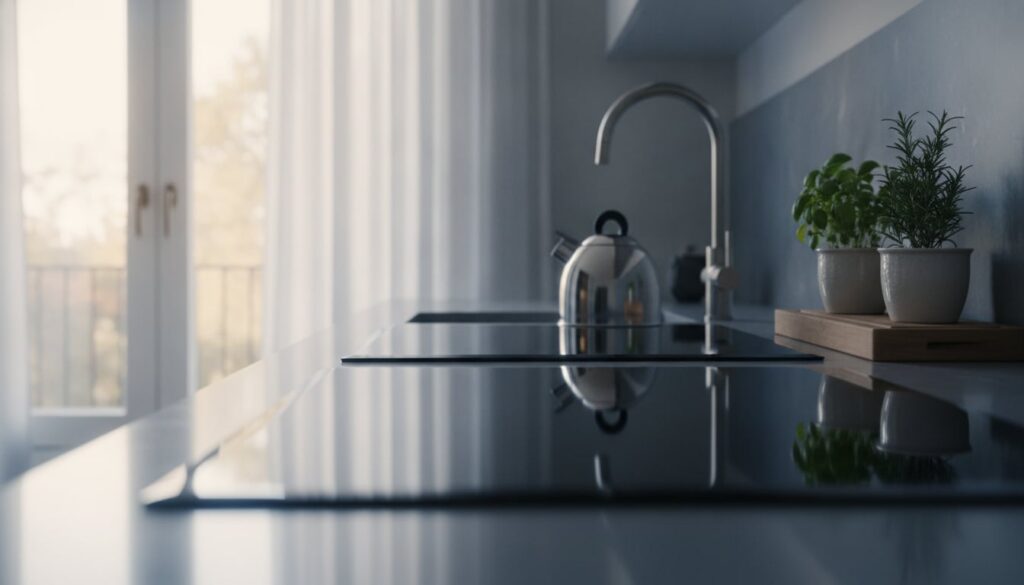
For a streak-free, gleaming finish, use a dry, clean microfiber cloth to buff the surfaces. This step is especially effective on stainless steel, glass, and polished countertops, leaving them sparkling.
Expert Tips for Best Results
- Use Hot Water: Always start with hot water when mixing your solution, as it helps dissolve the soap better and enhances its degreasing power.
- Pre-Scrape: For extremely thick or caked-on grease, use a spatula or scraper to remove any large debris before applying the solution.
- Spot Test: Before applying to a large area, especially on delicate or new surfaces, always test the solution on an inconspicuous spot to ensure no discoloration or damage occurs.
- Regular Cleaning: Don’t wait for grease to build up heavily. Regular, quick cleanings with this solution will make deep cleaning much easier in the long run.
- Ventilation: While this solution uses mild ingredients, it’s always good practice to ensure good ventilation in your kitchen when cleaning.
- Microfiber Advantage: Invest in good quality microfiber cloths. They are excellent for picking up grease and grime and buffing to a shine without leaving lint.
Variations for Different Needs
- For Extra Scrubbing Power: For really tough, caked-on grime, you can make a paste. Mix 2-3 tablespoons of baking soda with just enough of your cleaning solution (or plain water) to form a thick paste. Apply the paste directly to the stubborn spot, let it sit for 10-15 minutes, then scrub gently and wipe clean.
- For a Fresh Scent: Add 5-10 drops of your favorite essential oil (like lemon, orange, or peppermint) to the spray bottle for a natural, refreshing aroma.
- For Streak-Free Shine (Glass/Stainless Steel): After wiping clean with the solution, you can follow up with a quick spray of plain white vinegar and wipe with a dry microfiber cloth for an extra streak-free sparkle on glass stovetops or stainless steel appliances.
Storage Instructions
Your homemade kitchen degreaser can be stored in the spray bottle at room temperature. It is best used within 1-2 weeks for maximum effectiveness. Over time, the ingredients might separate slightly, but a quick shake will usually re-emulsify them. Ensure the bottle is tightly capped to prevent evaporation and maintain potency.
Safety Notes
- Eye and Skin Contact: While dish soap and vinegar are generally mild, avoid direct contact with eyes. If contact occurs, rinse thoroughly with water. If you have sensitive skin, consider wearing rubber gloves.
- Surface Compatibility: This solution is safe for most sealed kitchen surfaces, including stainless steel, laminate, sealed granite, and ceramic tiles. Avoid using vinegar on unsealed natural stone surfaces (like marble or granite) as it can etch them. Always spot test first.
- Children and Pets: Keep the cleaning solution out of reach of children and pets. Although it uses common ingredients, it is not meant for consumption.
- Do Not Mix with Bleach: Never mix this solution (especially if it contains vinegar) with bleach or bleach-containing products, as it can create dangerous fumes.
Frequently Asked Questions
Q: How long does the homemade degreaser last?
A: It’s best used within 1-2 weeks. While it won’t spoil quickly, its effectiveness may slightly diminish over time. A good shake before each use can help.
Q: Can I use this solution on all kitchen surfaces?
A: It’s safe for most sealed surfaces like stainless steel, laminate, and ceramic tiles. However, avoid using vinegar on unsealed natural stone (marble, unsealed granite) as it can cause etching. Always perform a spot test first.
Q: Do I need to rinse the surfaces after using this cleaner?
A: Yes, it’s recommended to wipe surfaces clean with a damp cloth after scrubbing to remove any soap residue. Follow up with a dry cloth for a streak-free finish.
Q: Can I use a different type of dish soap?
A: Yes, but a dish soap known for its degreasing power (like Dawn Ultra) will yield the best results for cutting through tough kitchen grease.
Q: Is this solution environmentally friendly?
A: Compared to many harsh chemical cleaners, this DIY solution is generally more eco-friendly, using biodegradable soap and natural ingredients like vinegar and water.
Q: What if the grease is still very tough after one application?
A: For very stubborn grease, let the solution sit longer (up to 20 minutes) or try making a baking soda paste variation for extra abrasive action.
Conclusion
Say goodbye to the dread of kitchen cleaning and hello to a sparkling, hygienic space with this incredibly simple yet powerful DIY degreaser. By combining common household ingredients, you can effectively tackle even the toughest grease and grime, leaving your kitchen surfaces spotless and gleaming.
Embrace the ease and efficiency of this trick and reclaim your time. No more endless scrubbing or expensive specialty cleaners. Give this method a try and experience the satisfaction of a truly clean kitchen, effortlessly!