Welcome, fellow garden enthusiasts! There’s a special joy in growing your own food, and few things are as satisfying as unearthing homegrown potatoes. If you’ve got some potatoes showing signs of life with little sprouts, don’t toss them! Instead, let’s turn those ‘Garden Day Preparations’ into a thriving patch of delicious tubers.
This guide will walk you through everything you need to know to transform those sprouting potatoes into a bountiful harvest right in your backyard or even in containers on your patio.
Why Grow Your Own Potatoes?
Beyond the simple pleasure of gardening, cultivating your own potatoes offers numerous benefits:
- Unbeatable Flavor: Homegrown potatoes often taste far superior to store-bought varieties, with a freshness you can truly savor.
- Organic Control: You decide what goes into your soil, ensuring your potatoes are free from unwanted chemicals.
- Variety Exploration: Access to unique heirloom and specialty potato varieties not typically found in supermarkets.
- Gardening Satisfaction: The process of nurturing a plant from sprout to harvest is incredibly rewarding.
The Art of Chitting Potatoes (Pre-Sprouting)
Chitting, or pre-sprouting, is the process of encouraging sprouts to form on your seed potatoes before planting. This gives your plants a head start, potentially leading to an earlier and larger harvest. You might already have potatoes chitting if they’ve been sitting in your pantry a bit too long – perfect!
How to Chit Your Potatoes:
- Select Healthy Potatoes: Choose firm, healthy potatoes, ideally organic or certified seed potatoes.
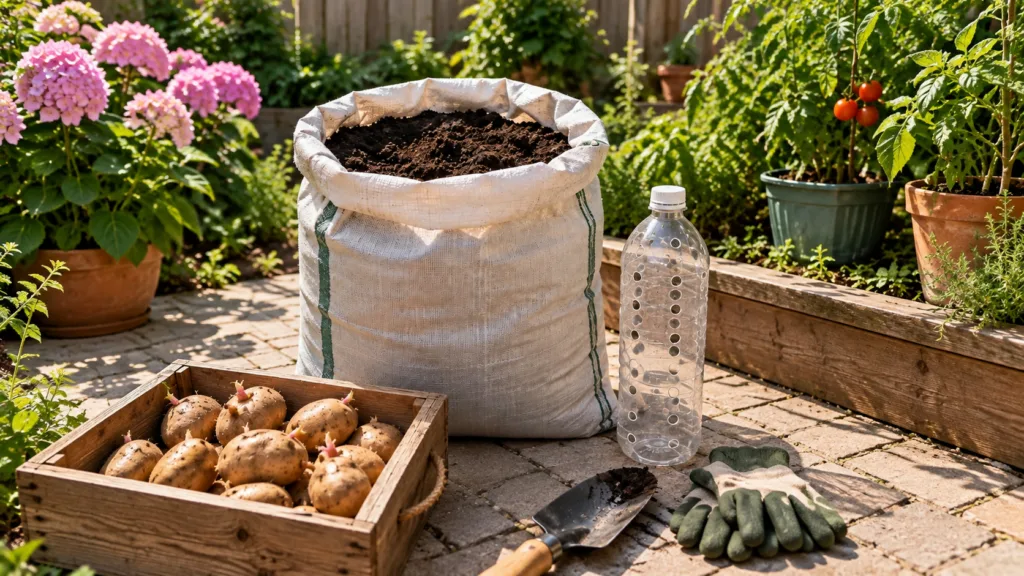
- Provide Light: Place your potatoes in a single layer in an egg carton, shallow tray, or wooden crate (just like you see in some garden setups!), ensuring each ‘eye’ or sprout point is exposed to indirect light.
- Cool, Bright Spot: Find a cool (around 50-60°F or 10-15°C), bright, frost-free location. A windowsill, unheated porch, or garage can work well.
- Wait for Sturdy Sprouts: In a few weeks, you’ll see short, sturdy, dark green or purple sprouts emerge. Avoid long, pale, flimsy sprouts, which indicate too little light.
- Cut Larger Potatoes (Optional): If your potatoes are large, you can cut them into pieces, ensuring each piece has at least one or two good sprouts and plenty of ‘flesh’ for energy. Let the cut surfaces dry and heal for a day or two before planting to prevent rot.
Essential Preparations for Planting Day
With your chitted potatoes ready, it’s time to prepare their new home. Good preparation is key to a thriving potato patch.
Choosing Your Site: Sun and Space
Potatoes are sun-loving plants! They need at least 6-8 hours of direct sunlight per day. Choose a spot that receives ample sun and has good air circulation. Rotate your potato patch yearly if possible, to prevent disease buildup in the soil.
Soil Matters: The Foundation for Growth
Potatoes thrive in loose, well-draining, slightly acidic soil (pH 5.0-6.0) that’s rich in organic matter. Heavy clay soils can lead to malformed tubers and disease. Sandy soils drain too quickly.
- Improve Drainage: If you have heavy clay, amend it with plenty of compost, well-rotted manure, or peat moss.
- Boost Nutrients: Incorporate balanced organic fertilizers or more compost. Avoid fresh manure, which can cause ‘scab’ on potato skins.
- Prepare Beds: Loosen the soil to a depth of at least 12 inches. A raised bed filled with good quality soil mix is also an excellent option.
Gather Your Tools
Ensure you have your essential gardening tools handy: a trowel, gardening gloves, a rake, and a watering can or hose. Having everything organized makes planting day much smoother.
Step-by-Step: Planting Your Sprouted Potatoes
Once the danger of hard frost has passed and your soil is workable (typically early spring), you’re ready to plant!
Method 1: Trench Planting (Traditional Method)
- Dig Trenches: Dig trenches about 6-8 inches deep and 12-18 inches apart.
- Place Potatoes: Place your chitted potato pieces (sprouts facing up) at the bottom of the trench, about 12 inches apart.
- Cover Lightly: Cover the potato pieces with about 3-4 inches of soil.
- Water In: Gently water the newly planted area.
Method 2: Container Planting (Great for Small Spaces)
If you have limited garden space, containers are a fantastic alternative. Use large pots, grow bags (like the burlap sack in the image), or even old tires.
- Choose Large Containers: Select containers at least 15-20 gallons in size with good drainage holes.
- Layer Soil: Add 6 inches of well-draining potting mix to the bottom of the container.
- Place Potatoes: Place 2-3 chitted potato pieces on top of the soil.
- Cover Lightly: Cover with another 4-6 inches of potting mix.
- Water: Water thoroughly.
Nurturing Your Potato Plants for Success
After planting, consistent care will ensure a healthy, productive potato patch.
Watering
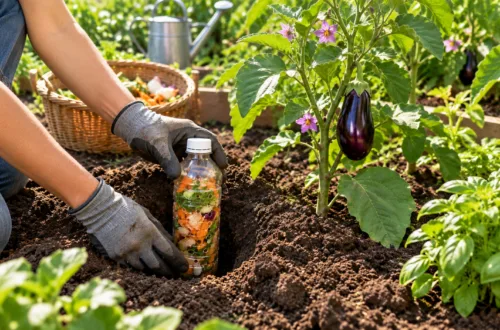
Potatoes need consistent moisture, especially during flowering and tuber formation. Aim for about 1-2 inches of water per week, either from rain or irrigation. Avoid overhead watering late in the day, which can encourage fungal diseases. A perforated plastic bottle can be a simple way to deliver water directly to the roots.
Hilling
Hilling is crucial for potatoes. As the plants grow, mound soil (or compost) around the base of the stems, leaving only the top few inches of foliage exposed. Do this gradually as the plant grows, typically when the plants are about 6-8 inches tall, and repeat every 2-3 weeks. Hilling protects the developing tubers from sunlight (which turns them green and toxic) and encourages more tubers to form along the buried stem.
Pest and Disease Watch
Keep an eye out for common potato pests like Colorado potato beetles and diseases such as blight. Good air circulation, proper watering, and timely removal of affected leaves can help manage these issues organically.
The Joy of Harvesting
Your patience will be rewarded! Potatoes are typically ready for harvest when the foliage begins to yellow and die back, usually 70-120 days after planting, depending on the variety.
- New Potatoes: You can gently ‘rob’ a few small ‘new’ potatoes about 2-3 weeks after flowering by carefully digging around the base of the plant.
- Main Harvest: For storage potatoes, wait until the foliage has completely died back. This allows the skins to ‘set’ for better storage.
- Digging: Carefully dig up the tubers with a garden fork, starting a foot or so away from the plant to avoid spearing them.
- Curing: After harvest, brush off excess soil (don’t wash them) and let them cure in a cool, dark, humid spot for 1-2 weeks. This further hardens the skins and improves storage life.
Start Your Potato Adventure!
Growing potatoes from sprouts is an incredibly rewarding experience that brings fresh, delicious produce directly to your table. With a little planning and care, you’ll be enjoying your own bountiful harvest in no time.
What are your favorite potato varieties to grow? Share your tips and experiences in the comments below! Happy gardening!