Garden Fresh: Slicing into Nature’s Best
There’s nothing quite like the crunch of a freshly harvested carrot, pulled straight from your own garden. That vibrant orange, the sweet, earthy taste, and the satisfaction of knowing you grew it yourself – it’s a simple pleasure that connects us directly to nature’s bounty. Forget bland store-bought versions; homegrown carrots are a culinary delight, bursting with flavor and nutrients.
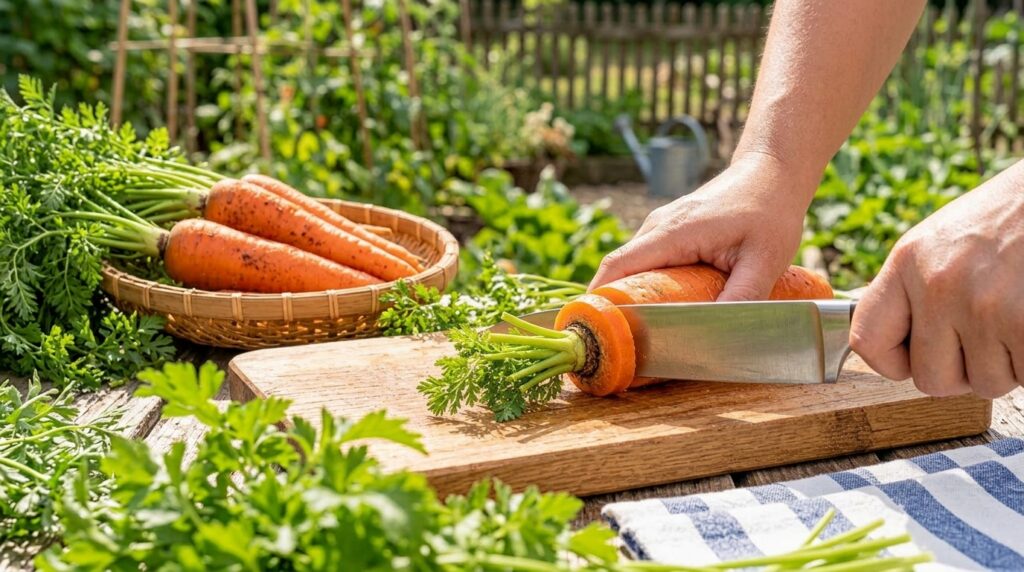
If you’ve ever dreamt of adding crisp, sweet carrots to your home-cooked meals, now is the perfect time to make that dream a reality. Growing carrots is surprisingly straightforward, and with a little know-how, you’ll be enjoying your own harvest in no time. Let’s dig in and discover the easy steps to cultivating these delightful root vegetables.
Why Grow Your Own Carrots?
Beyond the undeniable satisfaction, there are many compelling reasons to grow carrots at home:
- Superior Flavor: Homegrown carrots often taste sweeter and more vibrant than their supermarket counterparts.
- Know What You Eat: You control the growing conditions, ensuring your carrots are free from unwanted chemicals.
- Cost-Effective: A small packet of seeds can yield a bountiful harvest, saving you money on groceries.
- Fun for All Ages: Gardening is a wonderful activity for families, teaching kids about where their food comes from.
- Health Benefits: Carrots are packed with vitamins, especially Vitamin A, and antioxidants, perfect for a healthy lifestyle.
Choosing the Right Carrot Variety
Not all carrots are created equal! Different varieties thrive in different conditions and offer various shapes and sizes:
- Nantes: A popular choice, known for its sweet flavor, cylindrical shape, and blunt tip. Great for many soil types.
- Danvers: Tapered and hardy, these are good for heavier or rockier soils.
- Imperator: Long and slender, often found in stores, but require deep, loose soil.
- Chantenay: Shorter and conical, perfect for shallow or heavy soils, and container gardening.
- Miniature/Round: Ideal for containers or very dense soil, these include varieties like ‘Paris Market’.
Consider your soil type and space availability when selecting your seeds.
Site Selection and Soil Preparation: The Foundation for Success
Carrots are root vegetables, so good soil is paramount. They need loose, well-draining soil to grow long and straight.
Sunlight Requirements
Carrots need at least 6-8 hours of direct sunlight per day. Choose a sunny spot in your garden or on your balcony.
Soil Matters Most
This is arguably the most critical step. Carrots struggle in heavy, compacted, or rocky soil, which can lead to stunted, forked, or misshapen roots. Aim for:
- Loose and Loamy: Amend your soil with plenty of well-rotted compost or aged manure to improve its texture and fertility.
- Stone-Free: Remove any rocks or debris that could impede root development.
- Good Drainage: Carrots don’t like soggy feet. Ensure your chosen spot drains well.
- pH Level: Carrots prefer a soil pH between 6.0 and 6.8. A simple soil test kit can help you determine your soil’s pH.
Dig your bed deeply, at least 12-18 inches, to ensure there’s ample room for taproots to grow without obstruction.
Planting Your Carrot Seeds
Carrots are typically direct-sown into the garden. They don’t transplant well.
- Timing: Plant seeds in early spring as soon as the soil can be worked, and then succession plant every 2-3 weeks until mid-summer for a continuous harvest. In warmer climates, you can often plant in fall for a winter crop.
- Sowing: Make shallow furrows about 1/4 to 1/2 inch deep and 12-18 inches apart. Sprinkle the tiny seeds thinly along the furrow. Carrot seeds are small, so mixing them with sand can help with even distribution.
- Covering: Lightly cover the seeds with a thin layer of fine soil or compost.
- Watering: Gently water the area immediately after planting to settle the seeds. Keep the soil consistently moist (but not waterlogged) until germination, which can take 1 to 3 weeks. You might even cover the rows with a board or burlap for a few days to maintain moisture, removing it immediately once sprouts appear.
Watering and Thinning: Key to Crisp Carrots
Consistent Moisture
Carrots need consistent moisture, especially when they are young and as their roots are developing. Irregular watering can lead to cracked roots or a bitter taste. Aim for about 1 inch of water per week, either from rain or irrigation. Mulch around the plants to help retain soil moisture and suppress weeds.
The Art of Thinning
This step is crucial for healthy, well-formed carrots!
- First Thinning: When seedlings are about 1-2 inches tall, thin them to 1-2 inches apart. You can often snip the unwanted seedlings at the soil line to avoid disturbing the roots of the remaining plants.
- Second Thinning: When carrots are about the size of your pinky finger (you can eat these thinnings!), thin them again to 3-4 inches apart for larger varieties, or 1-2 inches for smaller, round types. Adequate spacing allows each carrot to grow to its full potential without competing for nutrients.
Pest and Disease Management
While relatively hardy, carrots can face a few challenges:
- Pests: Carrot rust flies are a common nuisance. Using row covers can help prevent them. Aphids can also be a problem; a strong spray of water or insecticidal soap can manage them.
- Diseases: Fungal diseases are less common but can occur in overly wet conditions. Ensure good air circulation and avoid overwatering.
Focus on organic solutions like companion planting (rosemary or marigolds can deter pests), crop rotation, and maintaining healthy soil to build plant resilience.
Harvesting Your Crisp Carrots
The best part! Carrots are usually ready for harvest in 60-80 days, depending on the variety.
- When to Harvest: Check the seed packet for the expected maturity date. You can also gently brush away a little soil from the crown of a carrot to see how thick it is. Harvest when they reach your desired size.
- How to Harvest: Loosen the soil around the carrot with a garden fork to make pulling easier. Grasp the greens firmly near the base and pull gently. If the soil is very dry, water it thoroughly the day before harvesting.
Storing Your Fresh Harvest
Once harvested, remove the green tops immediately (they draw moisture from the roots). Wash the carrots and store them in a cool, dark, and slightly humid place. They can last for weeks or even months in the refrigerator or a root cellar.
Start Your Carrot Journey Today!
Growing your own carrots is a rewarding experience that brings fresh, delicious flavor right to your kitchen. With these easy steps, you’re well on your way to enjoying the unparalleled taste of garden-fresh carrots. So, grab some seeds, prepare your soil, and get ready to slice into nature’s best!