Nurturing New Beginnings: Your Easy Guide to Abundant Homegrown Garlic
There’s nothing quite like the satisfaction of harvesting your own vegetables, and homegrown garlic is a true garden delight! The robust flavor, the fresh aroma, and the joy of knowing exactly where your food comes from make planting garlic an incredibly rewarding experience. If you’ve been dreaming of fresh, pungent garlic straight from your garden, you’ve come to the right place. We’re here to guide you through nurturing new beginnings for your very own garlic patch.
Why Grow Your Own Garlic?
Beyond the simple pleasure of gardening, growing garlic offers numerous benefits:
- Superior Flavor: Homegrown garlic often boasts a more intense and complex flavor compared to store-bought varieties.
- Freshness: Harvested at its peak, your garlic will be incredibly fresh and vibrant.
- Cost-Effective: A small investment in seed garlic can yield a significant harvest, saving you money in the long run.
- Variety: Explore unique garlic types not commonly found in supermarkets.
- Pest Repellent: Garlic can act as a natural pest deterrent for other plants in your garden.
Choosing the Right Garlic for Your Garden
Garlic generally comes in two main types: hardneck and softneck.
- Hardneck Garlic: Known for its strong, complex flavor and a rigid central stalk (scape) that often needs to be removed. It’s more cold-hardy and produces fewer but larger cloves. Hardnecks are popular in colder climates and store for about 4-6 months.
- Softneck Garlic: Characterized by a flexible stalk, making it ideal for braiding. It produces more cloves per bulb, typically with a milder flavor, and stores for longer periods (6-9 months). Softnecks are generally preferred in warmer climates.
Choose varieties that are well-suited to your local climate for the best results.
When to Plant Garlic for the Best Harvest
For most regions, the best time to plant garlic is in the fall, about 4-6 weeks before the ground freezes solid. This allows the roots to establish before winter sets in. The cold period (vernalization) is crucial for the garlic to develop large bulbs. In very mild climates, you might be able to plant in late fall to early winter. If you miss the fall window, you can plant in early spring, but the bulbs might be smaller.
Preparing Your Soil for Success
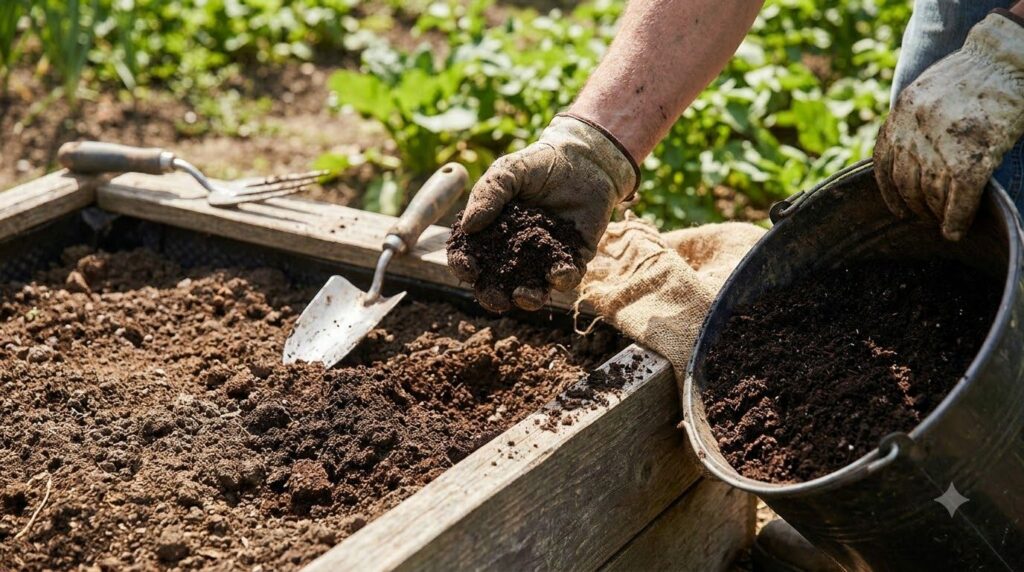
Garlic thrives in well-drained, fertile soil. A sunny spot that receives at least 6-8 hours of direct sunlight daily is ideal. Prepare your planting bed by:
- Loosening the Soil: Dig down at least 8-12 inches to ensure good drainage and root development.
- Amending with Organic Matter: Incorporate compost or well-rotted manure to enrich the soil and improve its structure. Garlic is a heavy feeder!
- Checking pH: Garlic prefers a soil pH between 6.0 and 7.0. A soil test can help you determine if amendments are needed.
Simple Steps to Planting Garlic
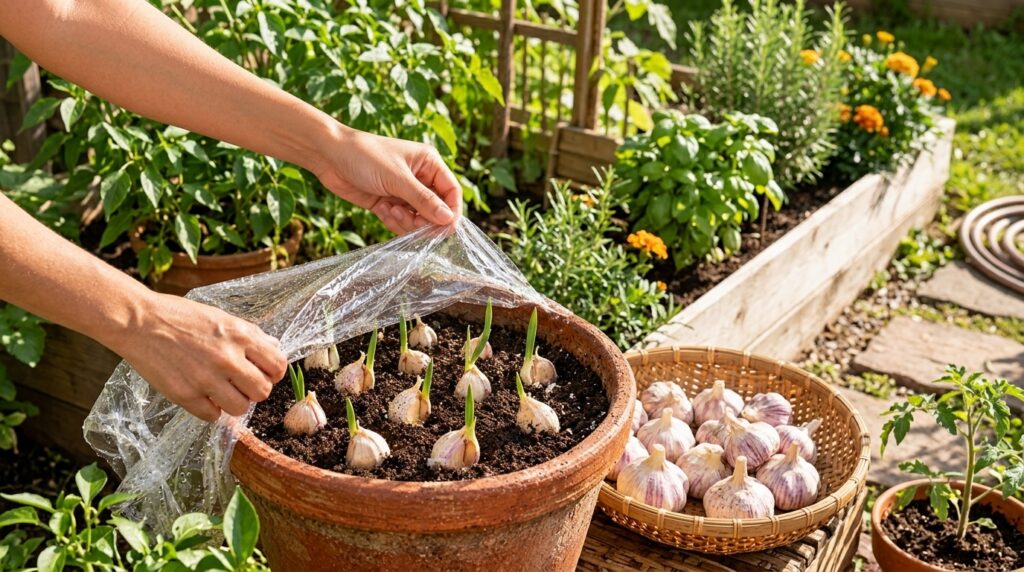
- Separate Cloves: Gently break apart your garlic bulbs into individual cloves just before planting. Choose the largest, healthiest cloves for planting, as these tend to produce larger bulbs.
- Planting Depth and Spacing: Plant each clove pointed-end up, about 2-3 inches deep. Space cloves 4-6 inches apart in rows that are 12-18 inches apart.
- Cover and Mulch: Cover the planted cloves with soil and then apply a thick layer (4-6 inches) of straw, chopped leaves, or other organic mulch. This helps suppress weeds, retain moisture, and protect the cloves from extreme temperatures.
- Water In: Give your newly planted bed a good watering to settle the soil around the cloves.
Caring for Your Garlic Patch
Once planted, garlic is relatively low-maintenance, but consistent care will ensure a great harvest:
- Watering: Keep the soil consistently moist, especially during active growth in spring. Reduce watering as the bulbs mature (usually in late spring/early summer) to prevent rot and encourage curing.
- Weeding: Weeds compete for nutrients and water, so keep your garlic bed free of them. The mulch layer will significantly help with this.
- Fertilizing: If your soil isn’t rich, a balanced organic fertilizer applied in early spring can give your garlic a boost.
- Scapes (Hardneck Garlic Only): Hardneck varieties will produce a flower stalk called a scape in late spring. Snap or cut these off when they curl once or twice to redirect the plant’s energy into bulb development. Don’t throw them away – garlic scapes are delicious in pesto, stir-fries, or roasted!
Harvesting Your Homegrown Garlic
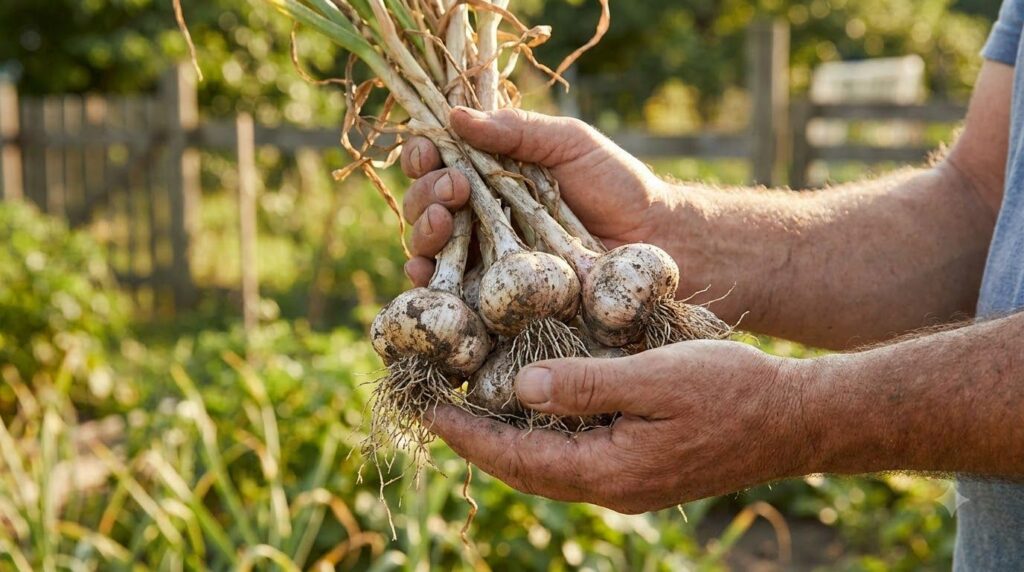
You’ll know your garlic is ready to harvest when the bottom leaves start to turn yellow and dry, but there are still 4-5 green leaves at the top. This typically happens in late spring to mid-summer, depending on your climate and planting time.
- Stop Watering: About two weeks before harvest, stop watering to help the bulbs cure in the ground.
- Loosen and Lift: Carefully loosen the soil around the bulbs with a trowel or digging fork, being careful not to damage them. Gently pull the entire plant (bulb, stalk, and roots) from the ground.
- Shake Off Excess Soil: Avoid washing the bulbs, as this can introduce moisture and encourage rot.
Curing and Storing Your Garlic
After harvesting, garlic needs to be cured. Curing allows the outer skin to dry and harden, which is essential for long-term storage.
- Curing Process: Hang your garlic in a cool, dry, well-ventilated area (like a shed, garage, or porch) for 2-4 weeks. Keep it out of direct sunlight.
- Trim and Store: Once cured, trim the roots and cut off the stalks, leaving about an inch above the bulb for softneck varieties (or trim closer for hardneck if you’re not braiding). Store your cured garlic in a cool, dry place with good air circulation. Softneck garlic can be braided for decorative and practical storage.
Growing garlic is a journey that connects you with nature’s rhythm and rewards you with a pantry full of flavorful bulbs. With a little care and patience, you can enjoy the satisfaction of abundant homegrown garlic for months to come. Happy planting!