Imagine having a constant supply of fresh, crisp celery right from your kitchen counter or garden! It might sound like a dream, but regrowing celery from its base is an incredibly easy and rewarding project for any gardener, whether you’re a seasoned pro or just starting your green thumb journey. Not only does it reduce food waste, but it also gives you access to fresh greens whenever you need them. Let’s dive into how you can start your very own perpetual celery patch!

Why Regrow Celery?
Regrowing vegetables like celery isn’t just a fun experiment; it’s a step towards more sustainable living and enjoying fresh, homegrown produce. Here are a few reasons to give it a try:
- Reduce Food Waste: Instead of tossing the base of your celery, you’re giving it a second life.
- Cost-Effective: Save money on groceries by growing your own supply.
- Freshness Guaranteed: Enjoy the freshest celery possible, harvested right when you need it.
- Educational Fun: It’s a fantastic project for families and a great way to teach children about where food comes from.
What You’ll Need
- The base of a celery stalk (about 1-2 inches from the bottom).
- A shallow bowl or glass jar.
- Fresh water.
- (Optional) Potting soil and a pot for transplanting later.
Step-by-Step Guide to Regrowing Celery
Step 1: Prepare Your Celery Base
After you’ve used the stalks of your celery, don’t throw away the base! Using a sharp knife, cut about 1 to 2 inches from the bottom of the celery head. Make sure the cut is flat so it can sit stably in water.
Step 2: Place in Water
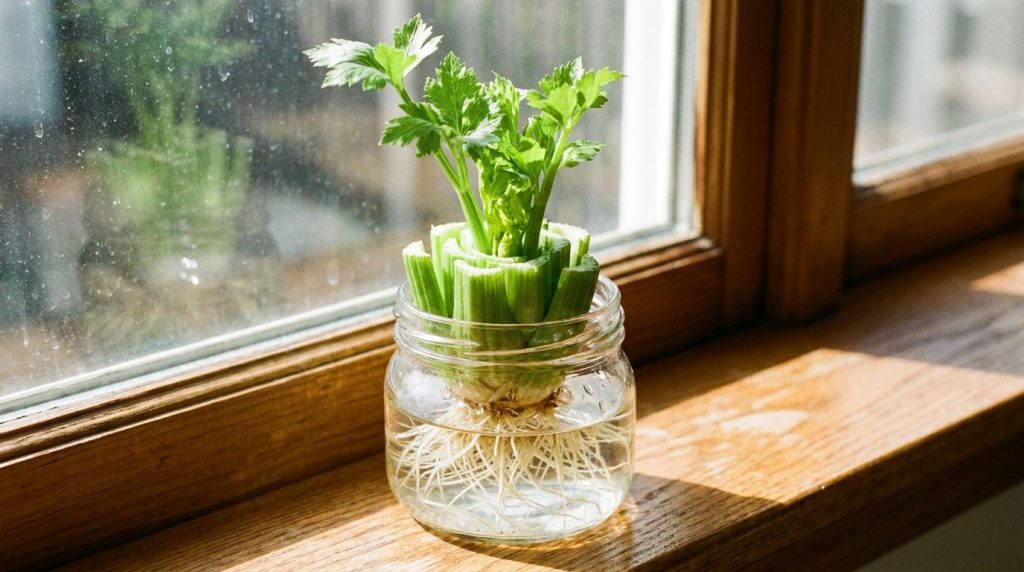
Find a shallow bowl or glass jar and add about an inch of water. Place the celery base cut-side down into the water. Ensure that only the very bottom of the base is submerged, keeping the top exposed to air.
Step 3: Find a Sunny Spot
Place your bowl or jar in a sunny location. A windowsill that receives plenty of indirect sunlight is perfect. Within a few days, you should start to see small leaves emerging from the center of the base, and tiny roots beginning to grow from the bottom.
Step 4: Change the Water Regularly
It’s crucial to change the water every 1-2 days to prevent mold and ensure your celery base receives fresh nutrients. Keep an eye on the water level and replenish as needed.
Step 5: Transplant to Soil (Optional but Recommended)
Once your celery base has developed a good set of roots (usually after 1-2 weeks) and the new green shoots are a few inches tall, it’s time to consider transplanting it. You can move it into a pot filled with good quality potting soil or directly into your garden if the weather permits.
- For Pots: Choose a pot at least 6-8 inches deep and wide. Plant the celery base so that the top of the base is just above the soil line.
- For Garden Beds: Ensure your garden bed has well-draining, rich soil. Plant it similarly, ensuring the growing crown is exposed.
Care Tips for Your Regrown Celery
- Watering: Celery loves water! Keep the soil consistently moist, especially during dry spells.
- Sunlight: Ensure your celery receives at least 6 hours of sunlight per day.
- Fertilizing: While not strictly necessary for the first harvest, a balanced liquid fertilizer can boost growth if your soil isn’t particularly rich.
- Pest Control: Keep an eye out for common garden pests. Organic pest control methods are always recommended.
Harvesting Your Celery
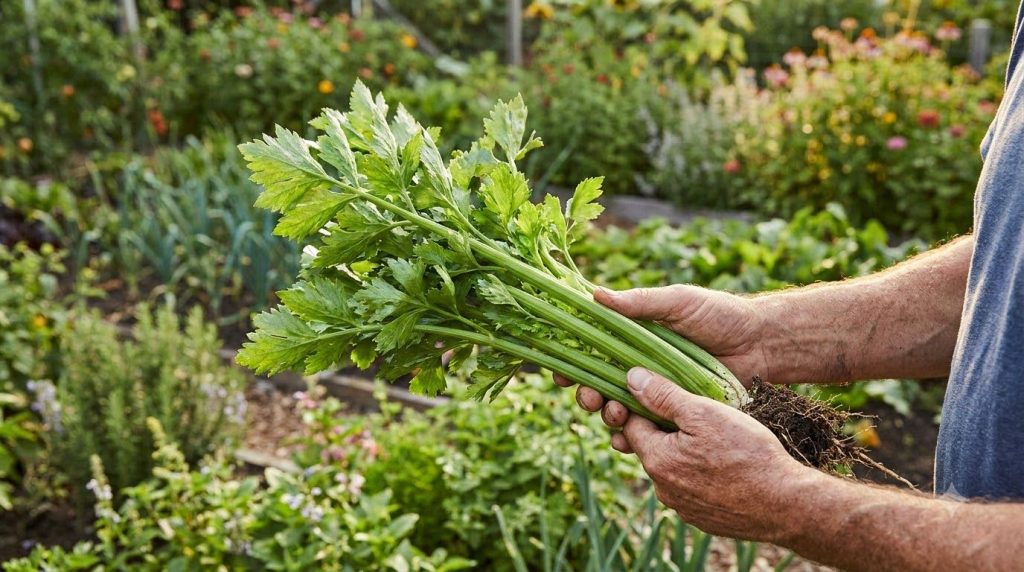
You can start harvesting individual stalks once they reach a usable size. Simply snip off the outer stalks as needed, allowing the inner stalks to continue growing. This method ensures a continuous harvest from a single plant.
Start Your Celery Journey Today!
Regrowing celery is a simple, satisfying way to bring more fresh produce into your life and embrace sustainable gardening practices. It’s a wonderful project that yields delicious results and a feeling of accomplishment. So next time you’re about to toss that celery base, think twice and give it a new beginning!
Have you tried regrowing celery or other vegetables? Share your tips and experiences in the comments below!