Conquer Kitchen Chaos: The Ultimate DIY Cleaning Solution
Starting a big kitchen clean-up can feel overwhelmingly daunting. Grease splatters, food crumbs, sticky spills, and everyday grime seem to multiply, turning your culinary haven into a chaotic zone. But what if a powerful, budget-friendly, and surprisingly simple solution could make all the difference, transforming those stubborn kitchen messes into sparkling surfaces? You don’t need an arsenal of harsh chemicals to achieve a truly clean kitchen; sometimes, the best solutions come from your own ‘Home Lab’.
Why Your Kitchen Needs This DIY Power Cleaner
The kitchen is the heart of the home, but it’s also a high-traffic area prone to some of the toughest cleaning challenges. From caked-on food residue to greasy range hoods and sticky floors, a deep clean often feels like an impossible task. Many commercial cleaners promise miracles but come with hefty price tags and sometimes strong, unpleasant fumes. This DIY power cleaner offers an effective alternative, harnessing the cleaning prowess of everyday household items to deliver impressive results without breaking the bank or exposing you to unnecessary chemicals.
The Home Lab Secret: Unpacking the Ingredients
Our powerful kitchen cleaning solution relies on four common ingredients you likely already have in your pantry and under your sink. Each plays a crucial role in tackling different types of kitchen grime:
- Water: The universal solvent, acting as the base for our solution and helping to dilute and spread the other cleaning agents.
- Salt: More than just a seasoning, salt acts as a mild abrasive to help scrub away stubborn, stuck-on grime without scratching surfaces. It also has deodorizing properties and can help cut through greasy residues.
- Green Dish Soap: This is your grease-fighting champion. Dish soap is a surfactant that breaks down oils and grease, allowing them to be easily lifted and rinsed away. Opting for a ‘green’ or eco-friendly version minimizes environmental impact.
- White Vinegar: The acidic hero of our concoction. White vinegar is excellent at dissolving mineral deposits (like water spots), cutting through grease, and neutralizing odors. It also has mild disinfectant properties, making it perfect for sanitizing kitchen surfaces.
Crafting Your Kitchen Power Solution: A Step-by-Step Guide
What You’ll Need:
- A large bucket
- Warm water
- 1/2 cup salt (table salt or Epsom salt works well)
- 1/4 cup green dish soap
- 1 cup white vinegar
- Mop, scrub brush, or clean rags/sponges
- Spray bottle (optional, for smaller tasks)
Mixing Instructions:
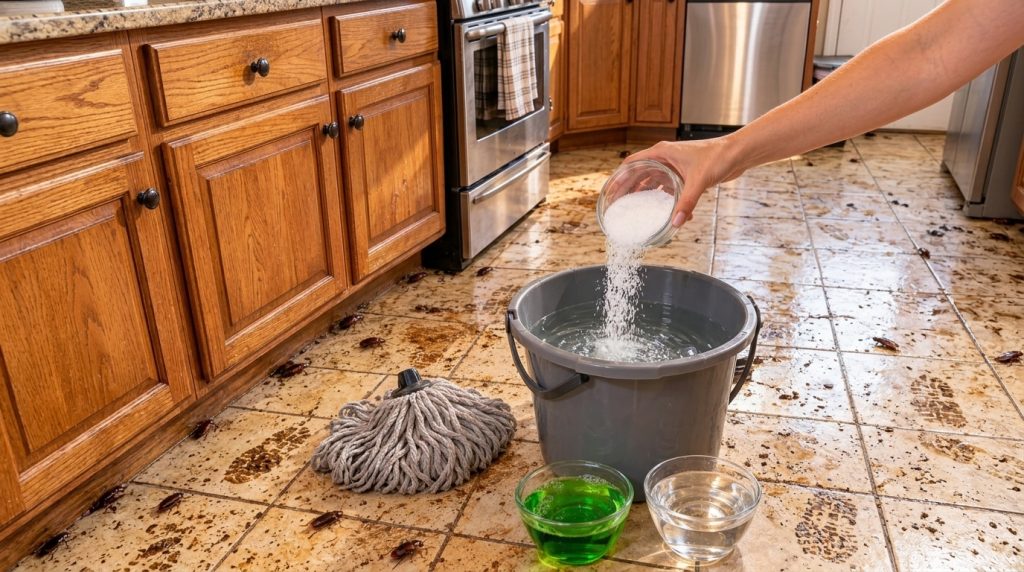
- Fill the Bucket: Start by filling your large bucket with about one gallon of warm water. Warm water helps activate the cleaning agents more effectively.
- Add Salt: Pour the 1/2 cup of salt into the warm water. Stir well until most of the salt crystals have dissolved.
- Introduce Dish Soap: Add the 1/4 cup of green dish soap. Stir gently to avoid creating too many suds, but ensure it’s well mixed.
- Incorporate Vinegar: Finally, add the 1 cup of white vinegar. The mixture might foam slightly; this is normal. Stir one last time until all ingredients are thoroughly combined.
Putting Your Power Cleaner to Work: Application Tips
This versatile solution can tackle various surfaces in your kitchen. Always remember to test a small, inconspicuous area first, especially on new or delicate surfaces, to ensure no discoloration or damage occurs.
For Floors:
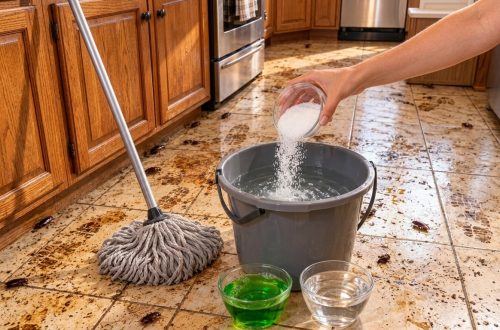
For tackling greasy, sticky kitchen floors, this solution is a game-changer. Mop your floor as usual, dipping your mop into the solution and wringing it out before applying. The salt acts as a mild abrasive to help lift stubborn dirt, while the dish soap and vinegar cut through grease and grime. For extra dirty spots, let the solution sit for a few minutes before scrubbing and rinsing.
For Countertops and Surfaces:
For everyday spills and general cleaning of non-porous countertops (like laminate, tile, or sealed granite/quartz), transfer some of the solution to a spray bottle. Spray directly onto the surface, let it sit for a minute or two for tougher spots, then wipe clean with a damp cloth. Finish with a dry cloth for a streak-free shine. Avoid using vinegar on natural stone like marble or unsealed granite, as its acidity can etch the surface.
For Greasy Appliances:
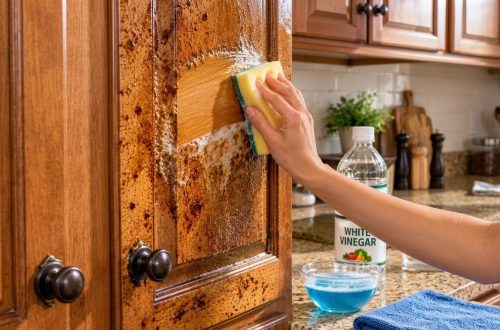
Stubborn grease on stovetops, range hoods, or microwave interiors doesn’t stand a chance. Apply the solution directly to a scrub brush or sponge and scrub the affected areas. The dish soap and vinegar will work to dissolve the grease, while the salt provides extra scrubbing power. Wipe clean with a damp cloth and then dry thoroughly.
The Science Behind the Sparkle: Why It Works
The magic of this DIY cleaner lies in the synergistic action of its simple components. The dish soap breaks down oils and fats, while the vinegar’s acidity attacks mineral deposits and sanitizes. Salt provides a gentle abrasive action and helps lift dirt. Together, they create a powerful, multi-purpose cleaning agent that’s tough on grime but gentle on your wallet and the environment. This combination also helps eliminate odors, leaving your kitchen smelling fresh and clean, not chemically.
Safety First: Important Considerations
- Ventilation: While natural, it’s always good practice to ensure good ventilation when cleaning, especially when using vinegar. Open a window or turn on your kitchen fan.
- Surface Sensitivity: As mentioned, avoid using vinegar-based solutions on natural stone surfaces (like marble, unsealed granite, or travertine) as the acid can cause etching. Always test in an inconspicuous area first.
- Storage: Store any leftover solution in a clearly labeled bottle or container away from children and pets.
Transforming your kitchen from chaotic to pristine doesn’t have to be a chore filled with harsh chemicals. With this simple yet powerful DIY cleaning solution, you’re equipped to tackle even the toughest messes, bringing back the sparkle and freshness your kitchen deserves. Give it a try and enjoy the satisfaction of a truly clean home, the ‘Home Lab’ way!