Preserve Your Harvest, The Smart Way!
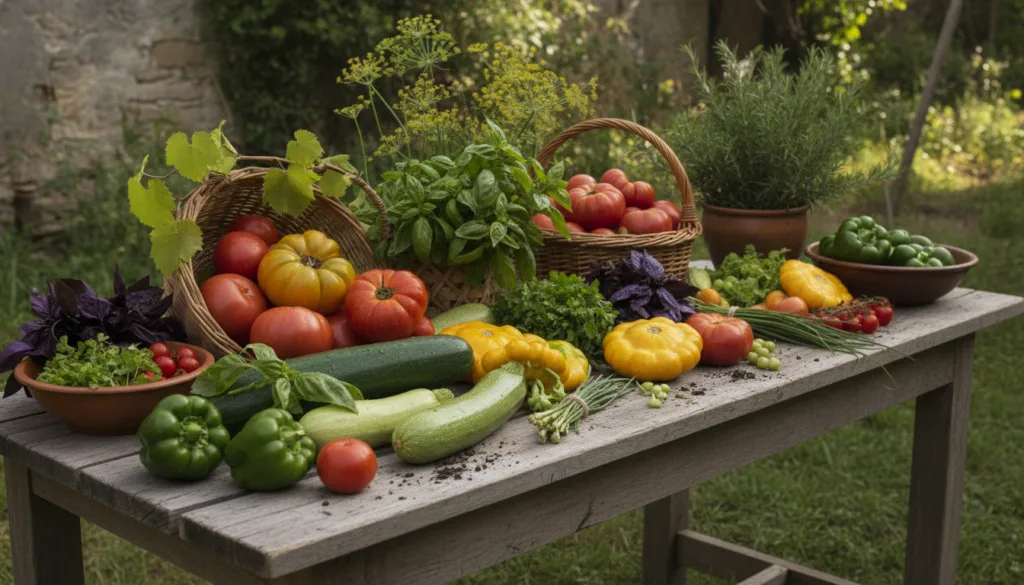
There’s nothing quite like the satisfaction of harvesting fresh, organic vegetables from your own garden. The vibrant colors, the earthy scents, and the unparalleled taste are rewards for your hard work. But what happens when your garden produces more than you can eat in a week? Don’t let that precious bounty go to waste! Learning to preserve your harvest is a fantastic way to enjoy your homegrown goodness all year long, reduce food waste, and even save money.
Why Preserve Your Harvest?
Beyond the simple joy of eating your own produce, preserving offers several key benefits for any home gardener:
- Enjoy Year-Round Freshness: Imagine savoring summer’s tomatoes in the middle of winter! Preservation lets you extend the life of seasonal produce.
- Save Money: Reduce your grocery bill by relying on your stored garden goods instead of buying expensive out-of-season produce.
- Reduce Food Waste: Prevent your surplus harvest from spoiling, making the most of your gardening efforts.
- Control Ingredients: Know exactly what goes into your food, avoiding unwanted additives often found in commercially processed items.
- Sustainability: Embracing a more self-sufficient and sustainable lifestyle by utilizing what you grow.
Essential Methods for Preserving Your Garden Bounty
There are several tried-and-true methods for preserving vegetables. The best method depends on the type of vegetable and your personal preference. Let’s explore some popular options:
1. Freezing: Quick and Convenient
Freezing is one of the easiest ways to preserve many vegetables. Most vegetables benefit from blanching (briefly boiling and then plunging into ice water) before freezing to retain color, flavor, and nutrients.
- Best for: Green beans, peas, corn, broccoli, spinach, berries, herbs.
- How To: Clean and chop vegetables. Blanch if necessary. Cool completely. Pack into freezer-safe bags or containers, removing as much air as possible. Label with contents and date.
2. Canning: Shelf-Stable Storage
Canning involves sealing food in jars and heating them to destroy bacteria and create a vacuum seal. It’s a great way to store food at room temperature for long periods.
- Water Bath Canning: Ideal for high-acid foods like tomatoes, fruits, pickles, and jams.
- Pressure Canning: Essential for low-acid foods like green beans, corn, carrots, and meats, as it reaches higher temperatures needed to kill harmful bacteria.
- How To: Always use proper canning equipment and follow tested recipes precisely to ensure safety. Sterilize jars, prepare food, fill jars, remove air bubbles, seal with new lids, and process in a canner for the specified time.
3. Drying/Dehydration: Concentrated Flavor
Removing moisture from food inhibits microbial growth and extends shelf life. Drying concentrates flavors, making dried produce excellent for cooking.
- Best for: Herbs (oregano, thyme, rosemary), peppers, tomatoes, root vegetables (sliced thin), fruit.
- How To: Use a food dehydrator, an oven set to its lowest temperature, or air dry in a well-ventilated area (for herbs). Slice produce evenly for consistent drying.
4. Fermentation: Probiotic Powerhouses
Fermentation uses beneficial bacteria to convert sugars into lactic acid, preserving the food and often enhancing its nutritional value with probiotics.
- Best for: Cabbage (sauerkraut), cucumbers (pickles), carrots, beets.
- How To: Combine vegetables with salt and water (brine) or salt only (dry salting). Submerge completely, seal, and allow to ferment at room temperature for several days or weeks.
5. Root Cellaring & Cool Storage: Simple & Natural
Some vegetables can be stored for months in a cool, dark, and moderately humid environment, mimicking traditional root cellars.
- Best for: Potatoes, carrots, beets, onions, garlic, winter squash, apples.
- How To: Harvest carefully to avoid bruising. Store in bins, crates, or even buried in sand in a cool, dark basement or unheated garage. Ensure good air circulation.
Tips for Successful Preservation
No matter which method you choose, a few general guidelines will help ensure your efforts are rewarding:
- Start with Quality: Always preserve the freshest, highest-quality produce. Avoid anything bruised, damaged, or past its prime.
- Cleanliness is Key: Thoroughly wash all produce and ensure your equipment, jars, and hands are scrupulously clean to prevent contamination.
- Follow Recipes: Especially for canning, always use tested recipes from reliable sources (like university extension offices or reputable canning guides) to ensure safety.
- Label and Date: Clearly label everything with the contents and the date it was preserved. This helps with inventory and ensures you use older items first.
- Invest in Good Tools: While you can start simply, investing in a good quality freezer, dehydrator, or canning equipment will make the process easier and more efficient over time.
Ready to Preserve Your Harvest?
Preserving your garden harvest is a rewarding extension of your gardening journey. It allows you to savor the fruits (and vegetables!) of your labor long after the growing season ends. Experiment with different methods, find what works best for you and your family, and enjoy the delicious, healthy benefits of homegrown food all year round.
What are your favorite ways to preserve your garden bounty? Share your tips and tricks in the comments below!