There’s nothing quite as satisfying as harvesting your own vibrant chili peppers from the garden. The rich colors, the fresh aroma, and the promise of delicious heat make all your hard work worthwhile. But what do you do with that bounty once it’s picked? The art of preserving chilies allows you to enjoy their fiery flavor long after the growing season ends, bringing a taste of your garden to your kitchen year-round.
Today, we’re diving into one of the simplest and most traditional methods for preserving your chili harvest: sun-drying. It’s an eco-friendly approach that locks in flavor and provides you with a versatile ingredient for countless dishes. Let’s transform those fresh peppers into a pantry staple!
The Journey from Plant to Plate: Harvesting Your Chilies
Before you can preserve them, you need to harvest them! Pick chilies when they are fully ripe and have developed their characteristic color and heat. Use clean pruning shears or scissors to snip the stems, leaving a small piece attached to the pepper. This helps prevent rot and keeps them fresh longer.
Once harvested, it’s time for preparation.
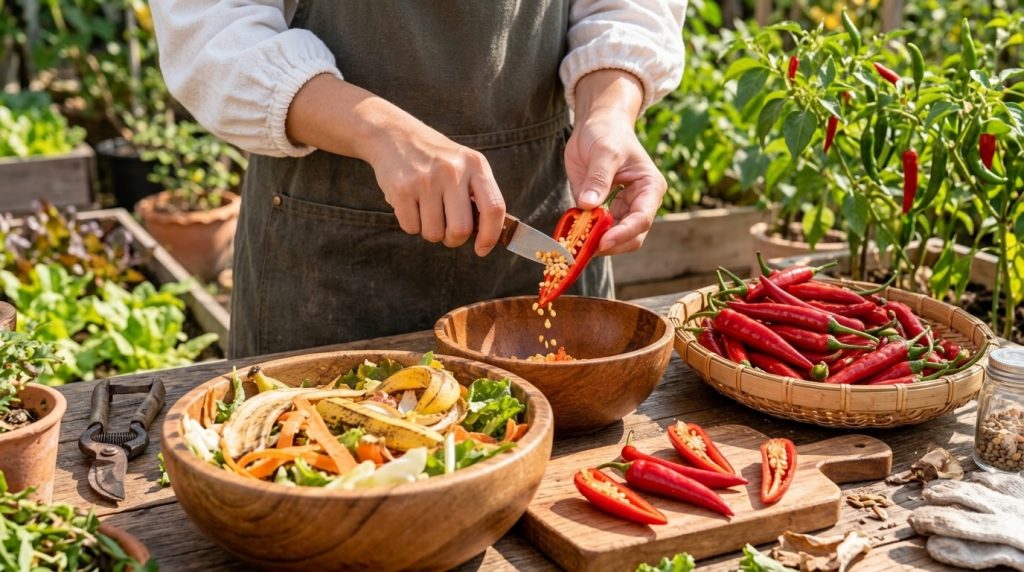
Easy Sun-Drying Method for Preserving Your Harvested Chili Peppers
Step 1: Wash and Prepare Your Chilies
- Wash Thoroughly: Rinse your chilies under cool running water to remove any dirt, dust, or garden debris. Pat them dry with a clean cloth.
- Slice or Leave Whole: Smaller, thinner-walled chilies (like Thai chilies or bird’s eye chilies) can often be dried whole. For larger, thicker-walled peppers (like jalapeños or serranos), it’s best to slice them in half lengthwise. This exposes more surface area, speeding up the drying process and preventing mold.
- Deseeding (Optional): If you prefer less heat or want to reduce drying time, you can carefully remove the seeds and membranes. Remember to wear gloves when handling hot chilies to protect your skin!
Step 2: Set Up for Sun Drying
Sun drying works best in warm, dry climates with plenty of direct sunlight and good air circulation. If you live in a humid area, consider an alternative method like oven drying or a dehydrator.
- Choose Your Surface: Lay your prepared chilies in a single layer on screens, mesh trays, or clean baking sheets lined with parchment paper. Ensure there’s enough space between each chili for air to circulate.
- Elevate for Airflow: If using baking sheets, elevate them slightly to allow air to circulate underneath. You can use bricks or cans at the corners.
- Location, Location, Location: Find a sunny spot outdoors, such as a patio, deck, or even a tabletop, that receives direct sunlight for most of the day.
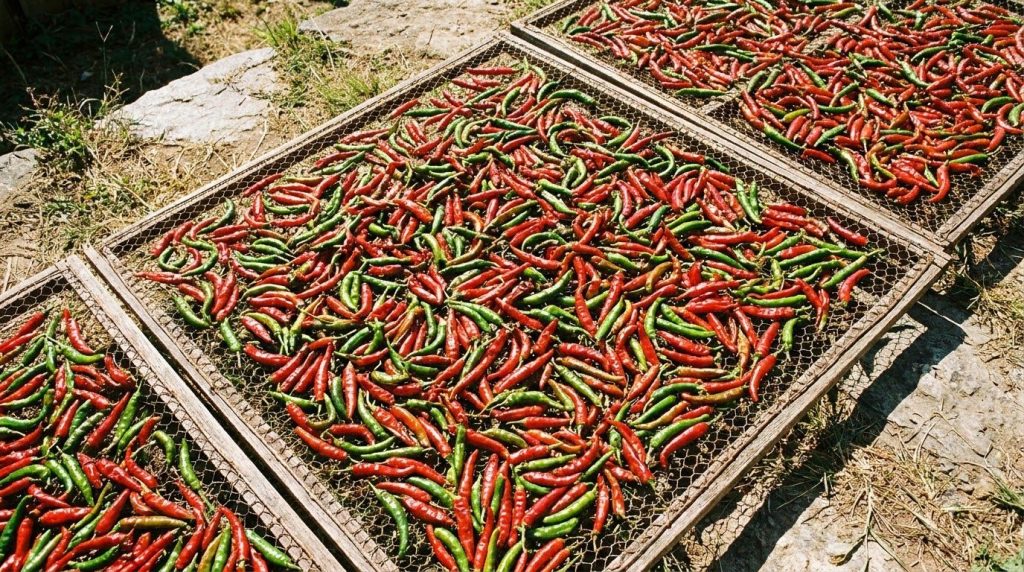
Step 3: The Drying Process
- Daily Turning: Turn the chilies daily to ensure even drying and prevent any moisture from accumulating on one side.
- Protect from Moisture: Bring the chilies indoors overnight or during periods of rain or heavy dew. Any moisture can invite mold and ruin your batch.
- Pest Protection: Cover your chilies with a thin mesh screen or cheesecloth to protect them from insects and birds while allowing air to flow.
Step 4: Knowing When They’re Ready
Drying time can vary significantly based on chili type, size, humidity, and sun intensity. It can take anywhere from a few days to two weeks.
- Texture Test: Your chilies are fully sun-dried when they are brittle, shriveled, and snap easily when bent. They should not feel soft or pliable at all.
- Sound Test: If you shake a dried chili, the seeds inside should rattle.
Step 5: Storage Tips
- Cool and Dry: Once completely dry, store your chilies in airtight containers, glass jars, or vacuum-sealed bags in a cool, dark, and dry place. This will prevent them from reabsorbing moisture from the air.
- Whole or Ground: You can store them whole and rehydrate them later for recipes, or grind them into a powder for your own homemade chili flakes or spice blends.
Why Sun-Dry? The Benefits of Preserving Your Own Chilies
Sun-drying isn’t just a traditional method; it’s a fantastic way to enjoy several benefits:
- Intensified Flavor: Drying concentrates the flavors, giving you a potent and delicious spice.
- Sustainable Living: Reduces food waste and makes the most of your garden’s bounty.
- Cost-Effective: Save money by producing your own spices instead of buying them.
- No Additives: You control what goes into your food—just pure chili pepper, nothing else!
Beyond Drying: Other Ways to Enjoy Your Chili Harvest
While sun-drying is wonderful, don’t forget other options! You can also freeze chilies whole, make homemade hot sauce, or even create your own smoked paprika if you have access to a smoker.
Embrace Your Inner Chili Artisan!
Preserving your chili harvest is a rewarding experience that connects you even more deeply with your garden. The next time you reach for that jar of homemade dried chilies, you’ll be savoring not just the flavor, but also the satisfaction of knowing you grew and prepared them yourself. Happy gardening and happy spicing!