Unleash the Power of Your Pantry: The Ultimate DIY Floor Cleaner for Tough Kitchen Grime
Ever stare at your kitchen floor after a busy week, feeling overwhelmed by the stubborn grime, muddy footprints, and mysterious sticky spots? You’re not alone! Kitchen floors take a beating, and tackling those deep-seated messes often feels like a Herculean task. But what if we told you the secret to sparkling clean floors isn’t a harsh chemical cleaner, but a simple, powerful concoction made from everyday household ingredients?
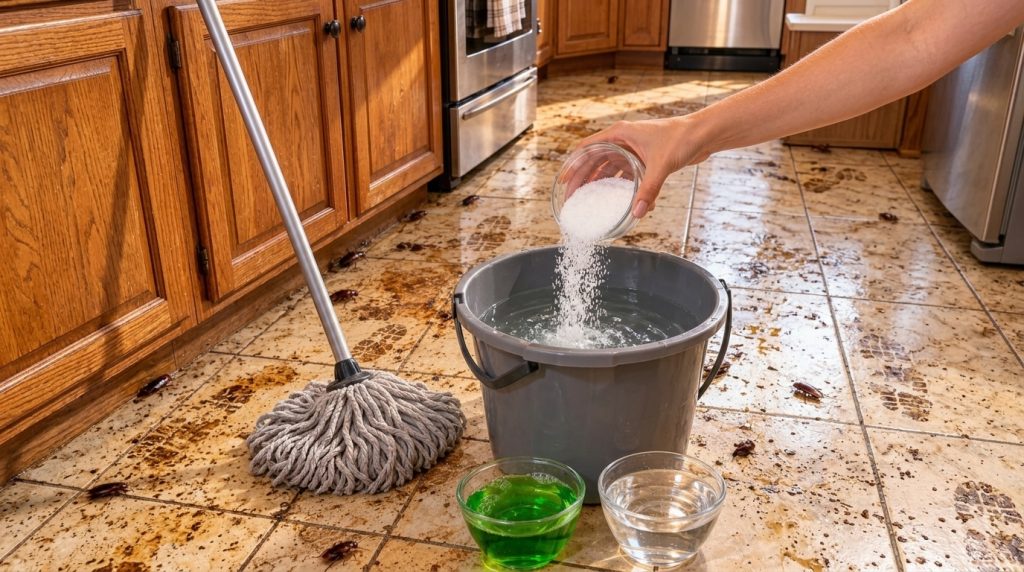
Welcome to the ‘Handy Home Lab,’ where we believe the best solutions are often found right in your pantry. Today, we’re unveiling a potent DIY floor cleaning recipe that combines the grease-busting strength of dish soap with the sanitizing power of vinegar and the scrubbing action of salt, all diluted in water. This isn’t just about cleaning; it’s about deep cleaning, deodorizing, and even helping to deter unwanted kitchen guests like cockroaches, as suggested by some of our observations.
The Secret Weapon for Sparkling Floors
This humble mixture is a powerhouse against kitchen floor nastiness. It’s a combination that cuts through grease, lifts dirt, neutralizes odors, and leaves your floors sparkling without the need for harsh fumes or expensive specialized cleaners. The beauty lies in the synergy of these common items, each playing a crucial role in creating a formidable cleaning agent.
Why These Ingredients? Unpacking the Power
- Water: The Universal Diluent and Carrier
Water is the base of our solution, diluting the more concentrated ingredients and allowing them to spread evenly across the floor. It helps to loosen dirt and grime, making it easier to lift away. - Green Dish Soap: The Grease Buster
Dish soap, especially eco-friendly green varieties, is a surfactant, meaning it breaks down the surface tension of water and emulsifies grease and oils. This allows dirt and oily residues to be lifted from surfaces and rinsed away effectively. It’s your primary weapon against sticky food spills and greasy buildup. - White Vinegar: The Acidic All-Star
White vinegar’s acetic acid content is a natural disinfectant and deodorizer. It’s excellent at cutting through hard water stains, soap scum, and many types of grime. It neutralizes unpleasant odors, rather than just masking them, and creates an environment less appealing to common household pests like cockroaches, which dislike its strong scent. - Salt: The Scrubbing Assistant & Deodorizer
Ordinary table salt acts as a mild abrasive, aiding in the physical removal of stubborn stuck-on grime without scratching most common floor surfaces like tile or linoleum. It also has desiccating properties, which can help absorb moisture and certain odors, contributing to an all-around fresher clean.
DIY Recipe: Your All-Purpose Floor Cleaner
Ready to reclaim your kitchen floor? Here’s how to whip up this potent solution:
What You’ll Need:
Ingredients:
- 1 gallon (approx. 4 liters) warm water
- 1 cup (approx. 240ml) white vinegar
- 1/4 cup (approx. 60ml) green dish soap
- 1/2 cup (approx. 120g) table salt
Tools:
- Large mop bucket
- Mop (sponge, string, or microfiber)
- Stiff-bristled scrub brush (for tough spots)
- Measuring cups
Step-by-Step Cleaning Guide:
- Prepare Your Space: Before you start mixing, sweep or vacuum your kitchen floor thoroughly to remove loose dirt, dust, and debris. This ensures your cleaning solution can tackle the actual grime, not just wet dust.
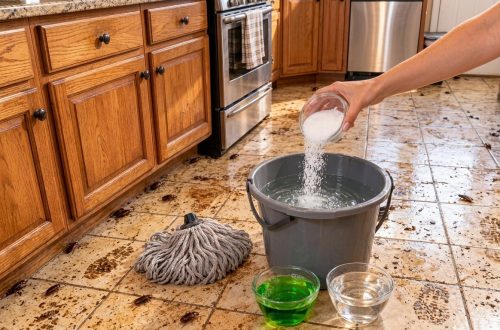
- Mix the Solution: In your mop bucket, combine the warm water, white vinegar, green dish soap, and salt. Stir well until the salt is mostly dissolved and the soap is thoroughly integrated. The warm water helps activate the cleaning agents and dissolve the salt more effectively.
- Test (Optional but Recommended): If you’re unsure how your floor surface will react, test a small, inconspicuous area first. While this solution is generally safe for most sealed floors like tile, linoleum, and sealed vinyl, it’s always wise to check.
- Mop Away the Grime: Dip your mop into the solution, wring it out so it’s damp, not dripping, and begin mopping your floor in sections. Pay extra attention to high-traffic areas and visible stains.
- Tackle Stubborn Spots: For particularly tough stains or caked-on messes, apply a small amount of the solution directly to the spot, let it sit for a few minutes to penetrate, then scrub with a stiff-bristled brush. Re-mop the area afterward.
- Rinse if Necessary: For very dirty floors or if you notice any soap residue, you might want to do a quick rinse with plain, clean water after you’ve cleaned the entire floor. However, with proper wringing, the vinegar in the solution often helps prevent streaks.
- Let Air Dry: Allow your floors to air dry completely. For faster drying, you can open windows or use a fan.
Beyond Floors: Other Uses for This Versatile Mix
While formulated for floors, a diluted version of this mix can also be effective for:
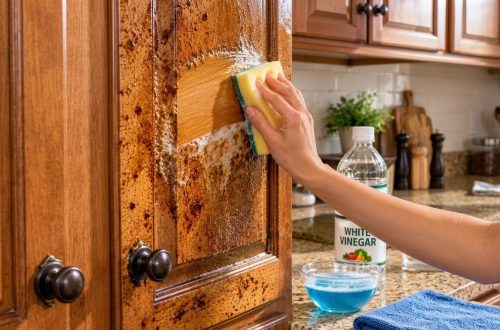
- Kitchen Countertops: For non-porous surfaces, dilute further (e.g., 1 part cleaner to 1 part water) and wipe down with a cloth. Always rinse with plain water afterward.
- Backsplashes and Walls: Great for removing cooking splatter and general kitchen grime.
- Trash Cans: Use it to clean and deodorize the inside and outside of your kitchen bin.
Important Safety & Usage Tips
- Ventilation is Key: While natural, vinegar has a strong smell. Ensure good ventilation by opening windows or turning on a fan during and after cleaning. The scent dissipates quickly once dry.
- Avoid Unsealed Stone: Do not use vinegar-based solutions on unsealed natural stone surfaces like marble, granite, or travertine, as the acid can etch the stone.
- Patch Test: Always test on an inconspicuous area first, especially for new surfaces or if you are unsure of your floor’s material.
- Storage: Store any leftover solution in a clearly labeled container in a cool, dark place for up to a week.
Say goodbye to stubborn kitchen grime and hello to brilliantly clean floors with this simple, budget-friendly DIY solution. Give it a try and transform your cleaning routine!