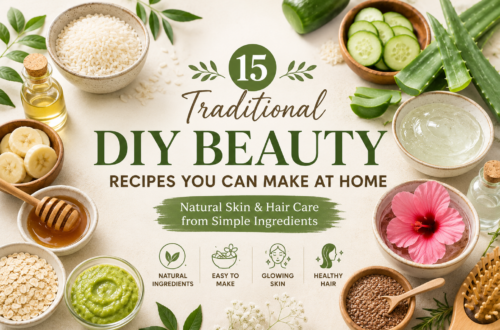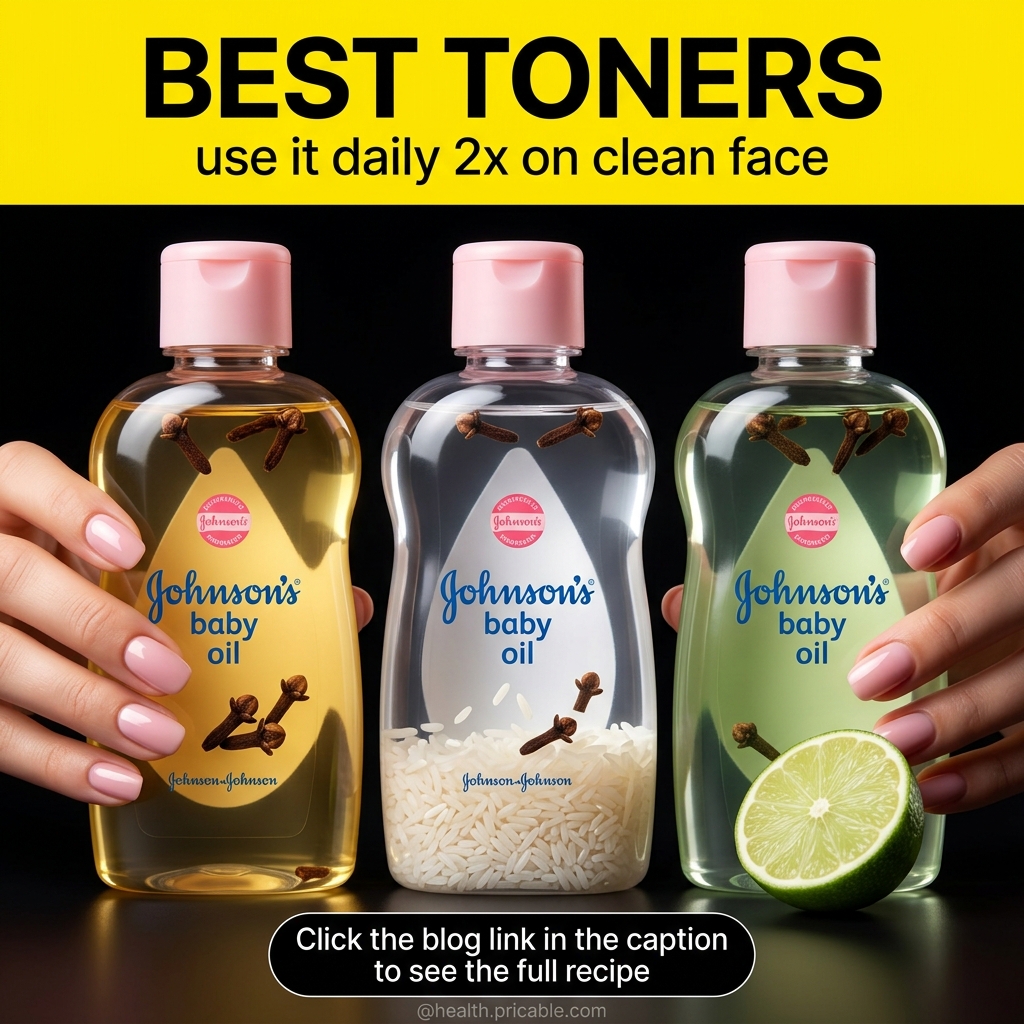
This guide breaks down three toner-style recipes inspired by the viral post: a clove toner for a clearer-feeling finish, a rice water toner for softness and hydration, and an aloe-lime toner for a fresher, more revived look. These are simple, light, water-based recipes that fit best after cleansing and before serum or moisturizer.
Why toner is still a favorite step
A good toner can make your skin feel cleaner, calmer, and more balanced after washing. It can also add a quick layer of hydration and help the rest of your routine spread more evenly. The trick is choosing the right formula for your skin instead of using one random mix for everything.
1) Clove Toner for a fresh, clarified feel
This is the version people reach for when they want skin to feel less greasy and more refreshed.
Ingredients
- 1 cup distilled water
- 8 to 10 whole cloves
- 1 tablespoon rose water, optional
How to make it
- Add the cloves and water to a small saucepan.
- Simmer on low heat for 5 minutes.
- Turn off the heat and let it cool fully.
- Strain into a clean glass bottle.
- Add rose water if you want a softer finish.
How to use it
Apply with a cotton pad or mist lightly over clean skin. Follow with a simple moisturizer. Most people do well using it once daily at first, then increasing if their skin stays comfortable.
Why people like it
Clove-infused water gives a very clean, fresh-skin feel and is often used in DIY beauty routines for oily or combination skin. It works best when the formula stays light and not overly strong.
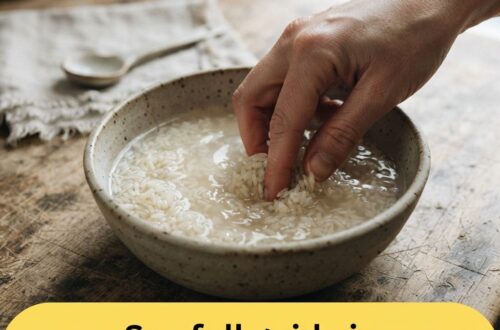
2) Rice Water Toner for soft, calm-looking skin
Rice water is one of those old-school beauty staples that keeps coming back because it is simple, gentle, and budget-friendly.
Ingredients
- 1/2 cup uncooked rice
- 1 cup filtered water
- 1 teaspoon aloe vera juice or glycerin, optional
How to make it
- Rinse the rice quickly once.
- Place it in a bowl with the filtered water.
- Let it soak for 30 minutes, stirring once or twice.
- Strain the liquid into a clean bottle.
- Add aloe juice or glycerin if you want a slightly more cushioned finish.
How to use it
Pat a small amount onto freshly washed skin with clean hands or a cotton pad. This version works especially well in the morning when you want skin to feel smooth and comfortable before moisturizer and sunscreen.
Why people like it
Rice water has a soft, lightweight feel and is often chosen when skin looks tired, dull, or a little rough. It is one of the easiest DIY toners for beginners because the ingredient list is short and the texture is light.
3) Aloe-Lime Toner for a quick bright, revived look
This is the most “spa-like” of the three, but it also needs the most restraint. The goal is a cooling, lightweight toner with just a tiny amount of lime, not a harsh citrus treatment.
Ingredients
- 2 tablespoons aloe vera juice
- 2 tablespoons rose water
- 1 tablespoon cucumber juice
- 2 to 3 drops fresh lime juice
How to make it
- Combine all ingredients in a small sterile bottle.
- Shake well before each use.
- Store in the refrigerator.
How to use it
Use this version at night only and no more than a few times a week at first. Apply a thin layer with a cotton pad, then follow with moisturizer. If your skin stings, feels hot, or looks red, rinse it off and stop using it.
Which DIY toner should you choose?
- Oily or combination skin: Start with the clove toner.
- Dry or normal skin: Rice water is usually the easiest place to begin.
- Dull-looking skin: Try the aloe-based option carefully and only in a very diluted form.
How often should you use these?
The viral graphic says twice a day, but the smarter move is to build up slowly. Rice water is usually the gentlest daily option. Clove toner is best introduced gradually. The aloe-lime version is better treated like an occasional boost, especially if your skin is sensitive.
Storage tips that make a big difference
- Keep DIY toners in the fridge.
- Use clean bottles, ideally glass.
- Make small batches so they stay fresh.
- Use within 3 days for the rice water and clove versions.
- Use the aloe-based version within 2 days.
Important skin-safety notes
Patch test every recipe before using it on your full face. Avoid broken skin, active irritation, and the eye area. If you already use exfoliating acids, retinoids, or prescription acne products, keep these DIY recipes simple and infrequent so you do not overload your skin barrier.
Best routine order
- Cleanser
- DIY toner
- Serum, if you use one
- Moisturizer
- Sunscreen in the morning
Final thoughts
The reason the viral three-toner post works so well is that it taps into what people actually want from skincare: something easy, inexpensive, and satisfying to use every day. If you turn that idea into a real routine, the biggest win is choosing the right mix for your skin instead of copying every recipe the same way.
Start with one toner, use it consistently, and keep the rest of your routine simple. That is usually when skin starts looking calmer, smoother, and more naturally glowy.