Chia seeds are tiny powerhouses, celebrated for their fiber, omega-3s, and ability to keep you feeling full and energized throughout your day. They’re a fantastic base for sustainable energy and gut well-being, but if you’ve ever felt your chia seed bowls were just… okay, you’re in for a treat.
The magic of a truly delightful chia bowl isn’t just in the ingredients, but in how you bring them together. Simple adjustments to your preparation can completely transform the texture and flavor, turning an ordinary breakfast into a personalized, creamy, or chewy masterpiece. It’s about discovering what you love.
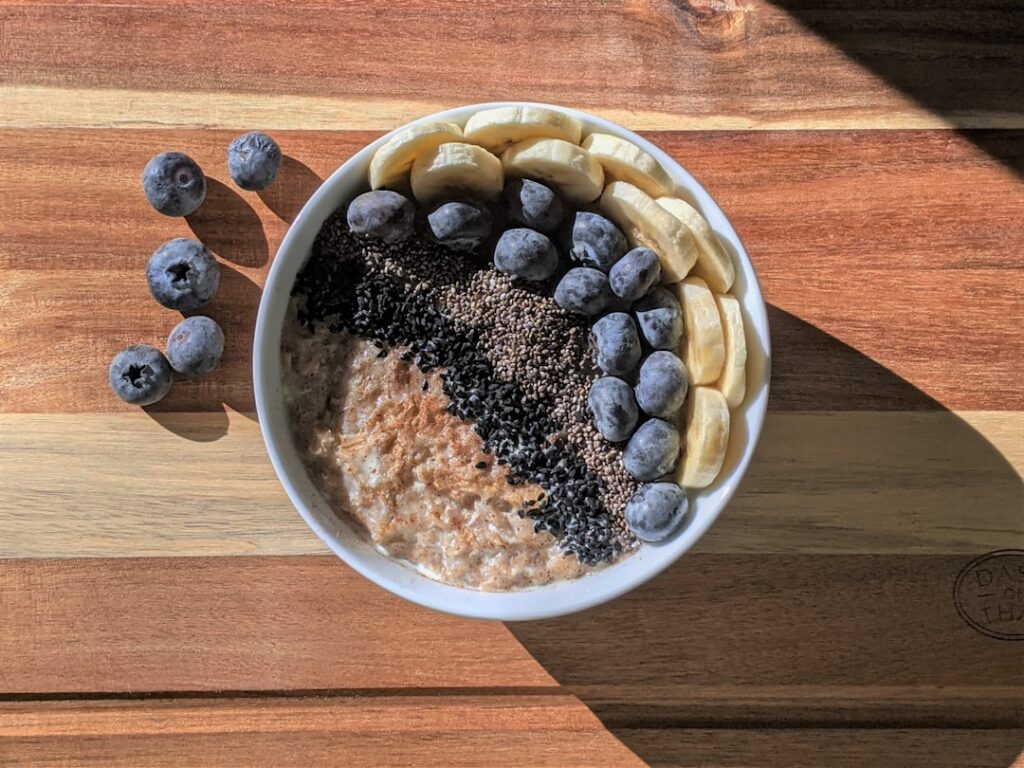
 A clean top-down flat lay infographic on a light marble background showing a beautifully garnished chia pudding bowl in
Your Adventure Starts Here: Six Secrets to Your Dream Chia Bowl
Ready to move beyond basic chia pudding? Let’s dive into the simple, yet impactful choices you can make to create a chia bowl that truly sings to your senses. Each choice offers a different experience, allowing you to tailor your meal prep and morning routine to your exact preferences.
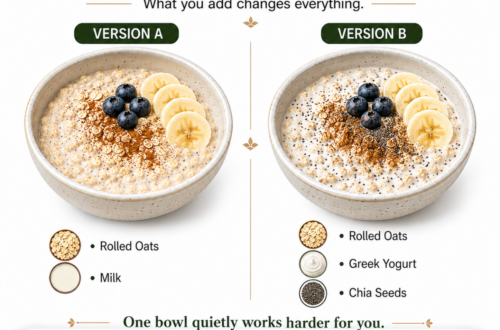
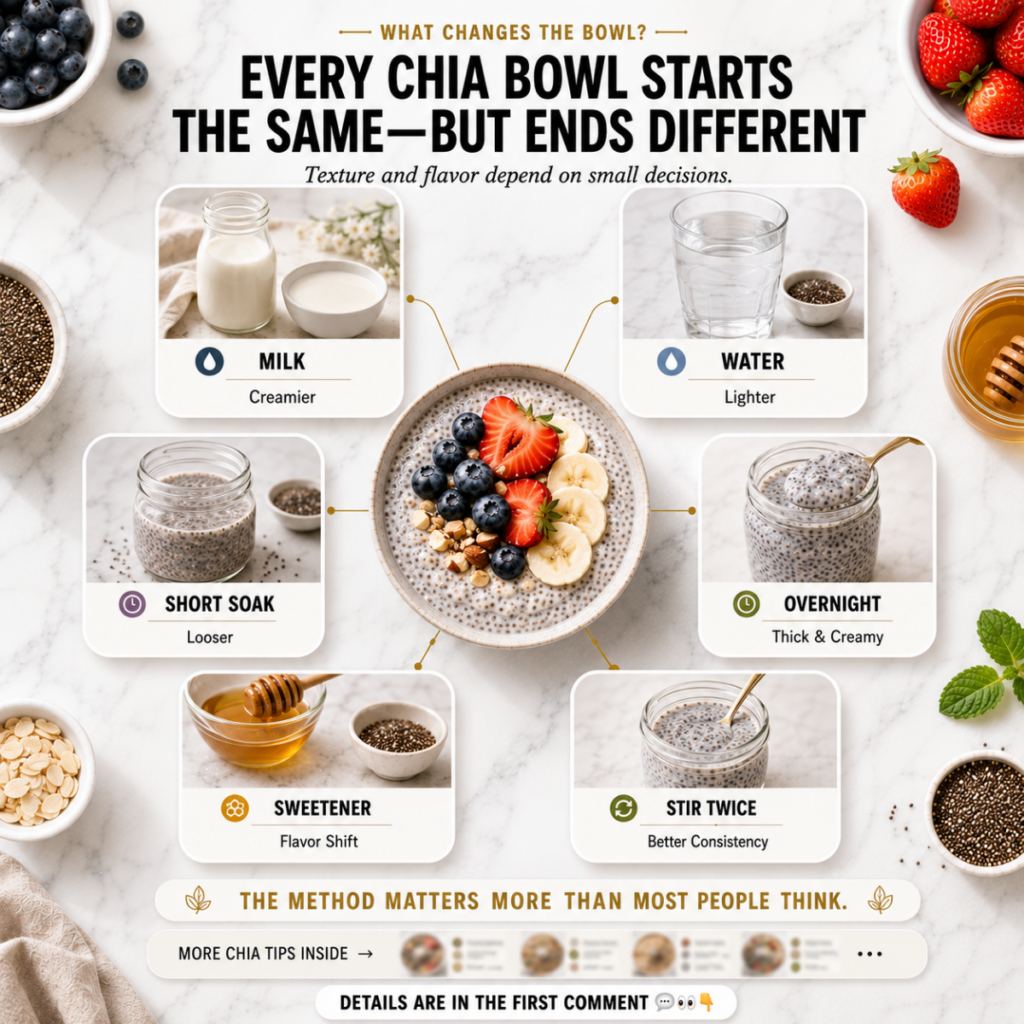
1. The Liquid Base: Milk or Water?
This fundamental choice sets the stage for your bowl’s richness and overall mouthfeel.
- Milk (Dairy or Plant-Based): For a creamier, richer texture and a fuller, more luxurious flavor. Think almond milk, oat milk, or coconut milk for delicious nuances.
- Water: If you prefer a lighter, less rich option that allows the flavor of your toppings to truly shine. The texture will be less dense, and the chia taste more neutral.
Why you’ll love it: This choice dictates the foundational richness. Experiment with different plant-based milks to find your favorite creamy companion!
2. Sweetener Timing: Early or Late?
When you add your sweetener makes a surprising difference in both taste and texture.
- Sweetener Added Early (with the chia seeds): Results in a more integrated sweetness throughout the pudding and can contribute to a slightly thicker, more cohesive consistency.
- Sweetener Added Late (just before serving): Provides a brighter, more distinct burst of sweetness with each bite. It also retains a subtle crunch from the sweetener if using granulated options or a fresh drizzle if using liquid.
Why you’ll love it: Customizing sweetness allows you to control the flavor profile. Natural sweeteners like maple syrup or honey work wonderfully!
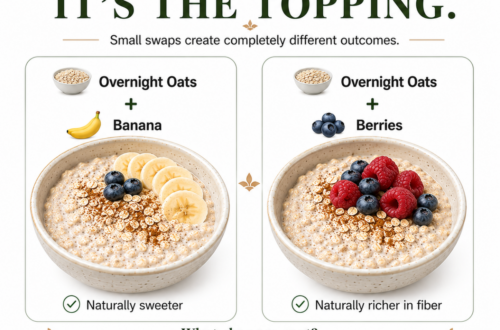
3. Soak Time: Quick Indulgence or Overnight Bliss?
The duration of your soak dramatically impacts the texture of your chia seeds.
- Short Soak (15-30 minutes): If you like a chewier bite and more distinct seed texture, a shorter soak is for you. The seeds will be hydrated but still have a pleasant firmness.
- Overnight Soak (8+ hours): For a truly smooth, velvety, and creamy texture where the seeds almost melt into the liquid. This is perfect for optimal meal prep and a grab-and-go breakfast.
Why you’ll love it: Whether you prefer a satisfying chew or silken smoothness, your soak time holds the key to your ideal texture.
 A vibrant and clean close-up of two glass jars of chia pudding one with a distinctly creamy smooth texture and the other
4. The Stirring Strategy: Once or Often?
A little stirring goes a long way in preventing lumps and achieving a uniform texture.
- Stirred Once (at the beginning): You might end up with some clumps and a less even texture, as seeds can settle at the bottom and hydrate unevenly.
- Stirred Every Few Minutes (for the first 15 minutes): This simple act ensures a much smoother, more uniform consistency throughout your bowl, with no hidden clumps of dry seeds.
Why you’ll love it: This tiny effort gives you a consistently smooth, delightful texture every time, making for a truly enjoyable eating experience.
Beyond the Basics: Two Bonus Tips for Chia Creativity
Once you’ve mastered the foundational elements, these extra steps can elevate your chia bowl to new heights.
5. The Blender Boost: For an Ultra-Smooth Pudding
If you’re seeking the silkiest, most pudding-like consistency, your blender is your best friend.
How to do it: After your chia seeds have soaked for at least 30 minutes (or overnight), simply transfer the mixture to a blender and blend until completely smooth. The result is a dessert-like, incredibly velvety texture.
Why you’ll love it: This method transforms chia pudding into a refined, almost mousse-like treat. It’s fantastic for blending in fruits like banana or berries for an extra flavor punch.
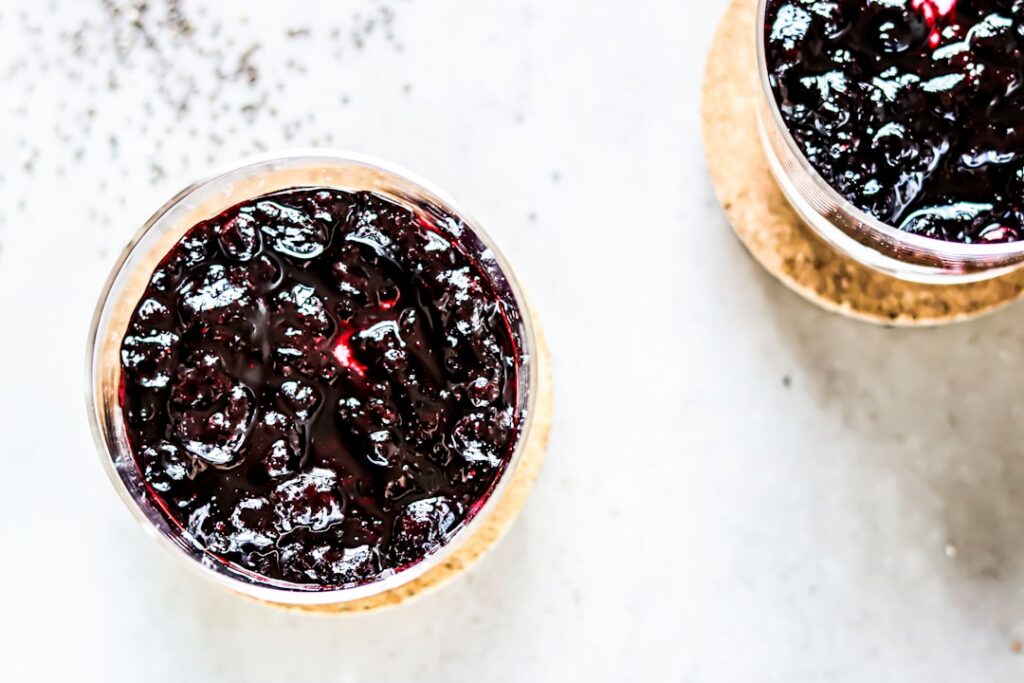
6. Warm & Cozy: Chia Bowl Reimagined
Who says chia bowls are only for cold breakfasts? Embrace comfort with a warm version.
How to do it: Gently warm your prepared chia pudding on the stovetop over low heat, or microwave it briefly until it reaches your desired warmth. Stir constantly to prevent sticking.
Why you’ll love it: A warm chia bowl is incredibly comforting, especially on chilly mornings. Top with warm berries, a sprinkle of cinnamon, or toasted nuts for a truly cozy treat.
 A beautifully composed shot of a warm chia pudding bowl steam gently rising topped with stewed cinnamon apples pecans an
Your Chia Journey: Delicious Discovery Awaits
See how simple shifts can lead to such diverse and delightful outcomes? Mastering your chia seed bowl isn’t about rigid rules, but about understanding the ‘why’ behind each preparation method.
These little secrets empower you to customize your healthy breakfast, snack, or dessert exactly to your liking. So go ahead, experiment! Discover the perfect texture and flavor that truly resonates with you. Your journey to a personalized, nourishing, and incredibly satisfying chia bowl starts now.
Happy soaking!