Hey gorgeous! Ever wondered if you could whip up a secret potion for youthful, glowing skin right in your kitchen? We’re diving into a buzz-worthy DIY trend that promises to do just that: a homemade ‘collagen gel’ using two everyday heroes – coffee and Vaseline! While it’s not a magic collagen-creating formula (true collagen is a complex protein!), this combo can work wonders for boosting your skin’s natural radiance and smoothness. Let’s get brewing!
What’s the Buzz About Coffee & Vaseline for Skin?
Before we dive into our DIY, let’s chat about why these two humble ingredients are getting so much love in the beauty world.
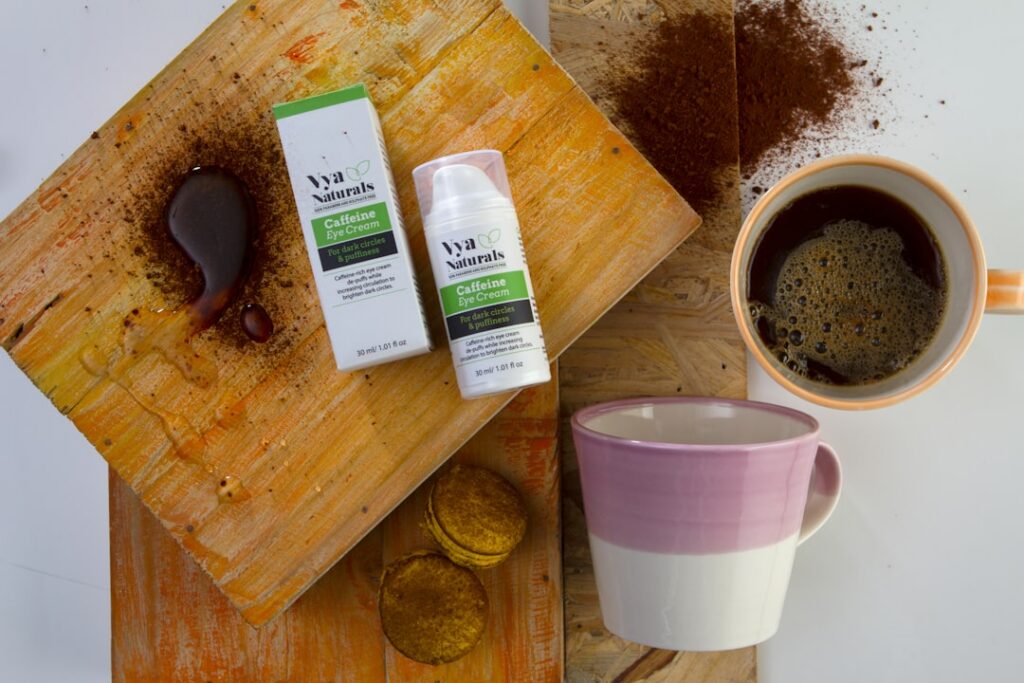
Coffee: Your Skin’s Energizer
You might love your morning coffee for a pick-me-up, but your skin loves it too! Coffee is packed with:
- Antioxidants: These powerful compounds help protect your skin from environmental damage, which can contribute to premature aging. Think of them as tiny shields for your skin cells!
- Caffeine: Known for its stimulating properties, caffeine can temporarily help reduce puffiness and tighten the skin, giving you a firmer appearance.
- Exfoliation: Ground coffee makes a fantastic natural exfoliant, gently buffing away dead skin cells to reveal smoother, brighter skin underneath.
Vaseline: The Moisture Lock-In Pro
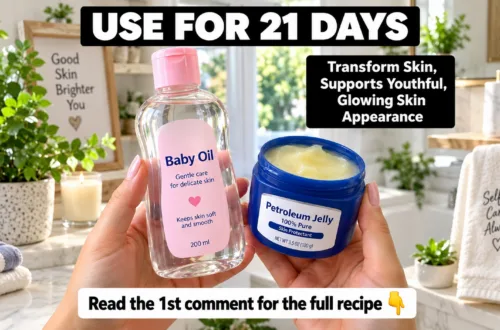
Ah, Vaseline – a classic for a reason! This petroleum jelly is a fantastic occlusive, meaning it creates a protective barrier on your skin. Here’s what it does:
- Seals in Moisture: It locks in existing hydration and prevents water loss, keeping your skin soft and supple.
- Protects Skin Barrier: It helps repair and strengthen your skin’s natural barrier, shielding it from external irritants.
- Smooths Texture: By keeping skin hydrated, it can visibly reduce the appearance of fine lines and make your skin feel incredibly smooth.
Crafting Your Own ‘Collagen’ Gel: A Gentle DIY Guide
Ready to give your skin a little pick-me-up? Here’s a general guide to create your homemade coffee and Vaseline skin treat. Remember, always do a patch test first!
What You’ll Need:
- 1-2 tablespoons of finely ground coffee (used coffee grounds are fine too!)
- 1-2 tablespoons of Vaseline (petroleum jelly)
- A small, clean, airtight container for storage
- A small bowl and spoon for mixing
The Simple Steps:
- Melt the Vaseline (Gently!): In a clean, heat-safe bowl, gently melt the Vaseline. You can do this by placing the bowl over a larger bowl of hot water (a double boiler method) or by microwaving in short bursts (5-10 seconds) until it’s softened and pliable, but not fully liquid.
- Combine with Coffee: Add the finely ground coffee to the softened Vaseline.
- Mix Thoroughly: Stir well until the coffee grounds are evenly distributed throughout the Vaseline, creating a consistent, gel-like texture.
- Transfer and Store: Carefully transfer your homemade ‘collagen’ gel into your clean, airtight container. Let it cool completely at room temperature until it solidifies.
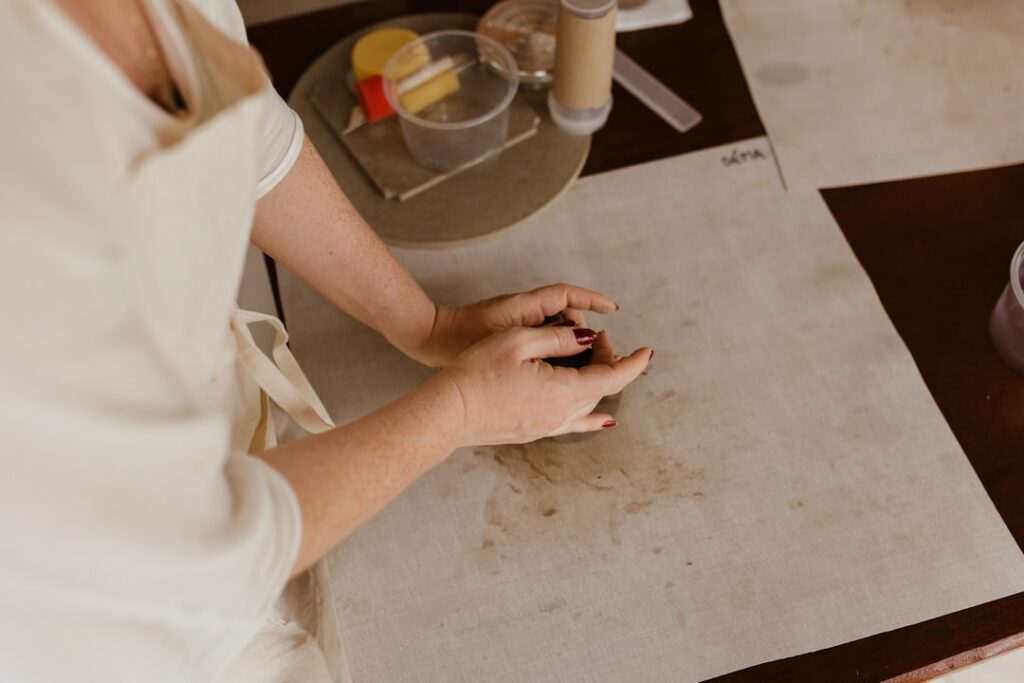
How to Use Your DIY ‘Collagen’ Gel for Smooth, Youthful Skin
Once your gel is ready, here’s how you can incorporate it into your routine:
- Patch Test: Before applying to your face, apply a tiny amount to a small, discreet area of your skin (like behind your ear or on your inner arm) and wait 24 hours to check for any irritation.
- Cleanse First: Always start with a clean face. Gently wash your face with your favorite mild cleanser.
- Apply Sparingly: Take a pea-sized amount of your DIY gel. Gently massage it onto your face and neck, focusing on areas where you want extra smoothness or hydration. Be careful around the delicate eye area.
- Massage Gently: The fine coffee grounds provide a mild exfoliating effect. Gently massage in circular motions for about 30 seconds to a minute, allowing the coffee to work its magic.
- Leave On (Optional) or Rinse Off: You can leave a thin layer on overnight as a rich sleeping mask, especially if you have very dry skin. If you prefer, you can gently wipe it off with a warm, damp cloth after 15-20 minutes.
- Frequency: Start by using it 1-2 times a week. If your skin loves it, you can increase the frequency.
Important Tips for Your DIY Journey
- Purity is Key: Ensure all your tools and containers are clean to prevent bacterial growth.
- Listen to Your Skin: If you experience any redness, itching, or discomfort, discontinue use immediately.
- Sun Protection: Anytime you exfoliate, your skin can become more sensitive to the sun. Always follow up with a good SPF during the day!
- Consistency: Like with any skincare routine, consistency is key to seeing results.
Why This DIY Can Help You Achieve That Youthful Glow
While this isn’t a medical ‘collagen’ treatment, the combination of coffee and Vaseline can significantly contribute to the look and feel of youthful skin by:
- Improving Skin Texture: Gentle exfoliation from coffee grounds reveals smoother skin.
- Boosting Radiance: By removing dead skin cells and locking in moisture, your skin will look brighter and more luminous.
- Deep Hydration: Vaseline provides an intense moisture barrier, plumping up the skin and reducing the appearance of fine lines caused by dryness.
- Antioxidant Protection: Coffee’s antioxidants help combat signs of aging by protecting against environmental stressors.
So, there you have it, beauty besties! A simple, affordable, and natural way to give your skin some love and help it look its youthful best. Give this DIY ‘collagen’ gel a try and let us know your thoughts. We’re always here to share the best tips for your radiant journey!