As the vibrant colors of summer begin to fade and a crisp chill fills the air, many gardeners wonder how to best prepare their beloved hydrangeas for the colder months ahead. The promise of those magnificent spring and summer blooms hinges on the care we provide now. While some might think a drastic fall trim is in order, the truth is, hydrangeas often thrive with a more gentle, intentional approach to winter preparation. A little proactive care now ensures your plants remain healthy, resilient, and ready to burst forth with spectacular flowers when spring returns.
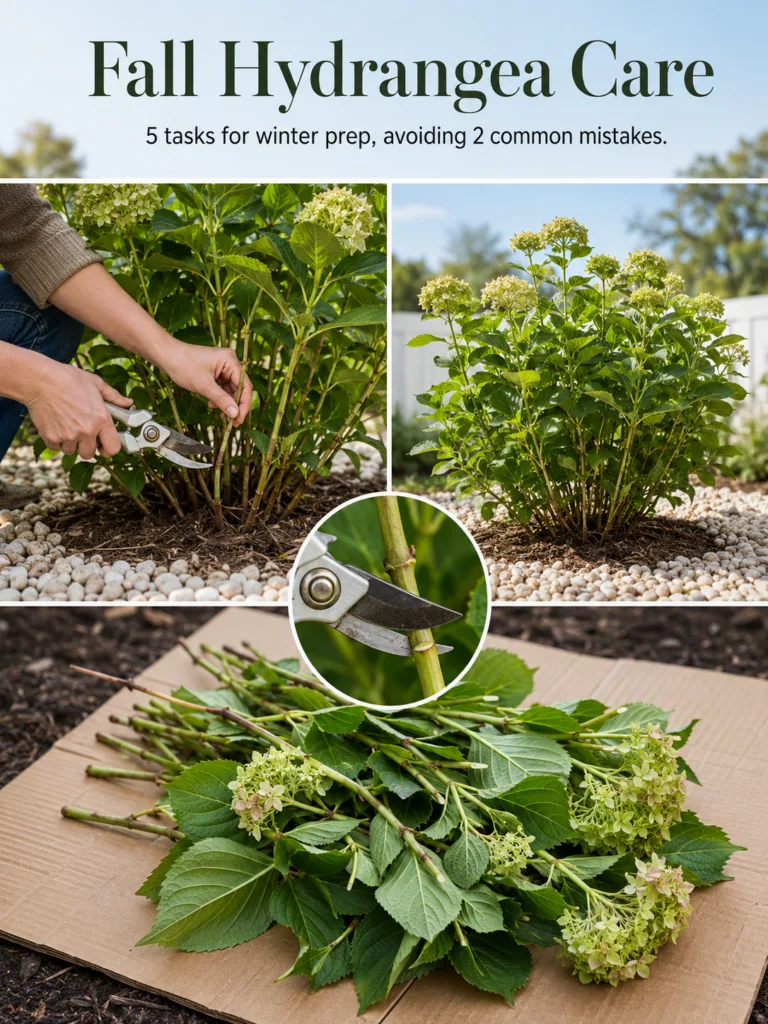
Preparing your hydrangeas for winter isn’t about heavy-handed action; it’s about thoughtful protection and understanding their unique needs. This guide will walk you through five crucial tasks for successful winter prep and help you avoid two common mistakes that could cost you next year’s stunning display. Get ready to give your hydrangeas the attentive care they deserve, setting the stage for an abundance of gorgeous blooms.
The Golden Rule: Understanding Hydrangea Blooming Habits
Before you even pick up your pruning shears, it’s vital to understand how your particular hydrangea variety blooms. This is the cornerstone of effective fall care. Hydrangeas are generally categorized by whether they bloom on ‘old wood’ (stems that grew the previous season) or ‘new wood’ (stems that grew in the current season).
- Old Wood Bloomers: These include Bigleaf Hydrangeas (Hydrangea macrophylla, often recognized by their mophead or lacecap flowers) and Oakleaf Hydrangeas (Hydrangea quercifolia). Their flower buds form on existing stems in late summer or early fall. Heavy pruning in autumn for these varieties will remove next year’s flower buds, resulting in few to no blooms.
- New Wood Bloomers: This group includes Panicle Hydrangeas (Hydrangea paniculata, like ‘Limelight’ or ‘Vanilla Strawberry’) and Smooth Hydrangeas (Hydrangea arborescens, such as ‘Annabelle’). These hydrangeas form flower buds on stems that grow in the current spring. They are more forgiving of fall pruning, but it’s often still best reserved for late winter or early spring for best results.
Knowing your hydrangea type is the first step to successful winter prep, ensuring you don’t accidentally prune away next year’s floral show.
5 Essential Tasks for Hydrangea Winter Preparation
1. Light Pruning and Deadheading (Not a Heavy Chop!)
This is where precision matters. The goal for most hydrangeas in fall is not a major cutback, but rather a light clean-up.
- What to do: Remove any dead, diseased, or damaged branches. These can harbor pests or diseases and should be cut back to healthy wood or the ground. You can also deadhead spent flower blooms, especially if they look unsightly or might collect snow and break stems.
- How to do it: Use clean, sharp pruning shears. For deadheading, cut just below the spent flower head to an outward-facing bud or leaf node. For dead or damaged wood, cut back to the nearest healthy branch or the base of the plant.
- Important Note: Avoid cutting back healthy stems on old-wood blooming hydrangeas. Even for new-wood bloomers, a heavy cut is typically best done in late winter or early spring, not autumn, to allow the stems to offer some natural winter protection.
2. Deep Watering Before Freezing Temperatures
Winter desiccation (drying out) is a significant threat to hydrangeas, especially newly planted ones or those in containers. Before the ground freezes solid, ensure your hydrangeas are thoroughly hydrated.
- How to do it: Provide a deep, slow watering session, allowing water to penetrate the soil several inches. This is especially crucial if fall has been dry. Water until the soil is saturated, then let it drain.
- Why it matters: Well-hydrated plants are more resilient to cold temperatures and dry winter winds. The moisture in the soil also helps insulate the roots.
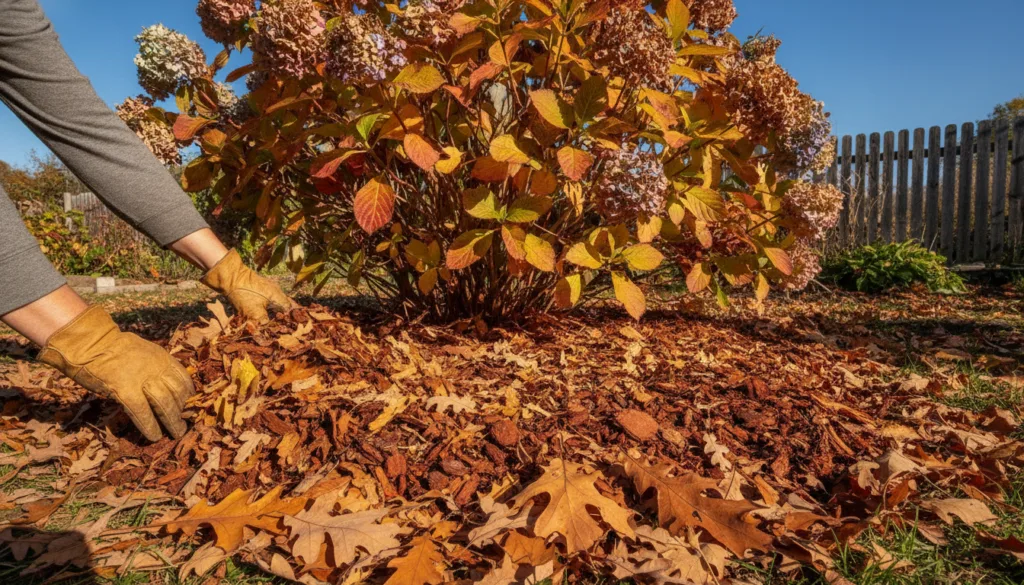
3. Apply a Protective Layer of Mulch
Mulching is one of the most effective and easiest ways to protect your hydrangea’s root system from extreme temperature fluctuations.
- What to use: Organic materials like shredded bark, straw, fallen leaves, or pine needles.
- How to apply: Spread a 2 to 4-inch layer of mulch around the base of your hydrangea, extending out to the drip line (the outer edge of the plant’s branches). Make sure to keep the mulch a few inches away from the main stems or crown of the plant to prevent rot and pest issues.
- Benefits: Mulch insulates the soil, keeping it warmer during cold snaps and preventing it from heaving (freezing and thawing, which can damage roots). It also helps retain moisture.
4. Protect Tender Varieties and Young Plants
In colder USDA zones (generally 3-6) or for newly planted hydrangeas, additional winter protection might be necessary.
- For in-ground plants: You can create a cage of chicken wire or burlap around the plant and fill it with straw or dried leaves. This acts as an insulating blanket. For smaller plants, simply covering them with a burlap sack can offer protection.
- For container hydrangeas: Move pots to an unheated garage, shed, or a protected spot against your home. If left outdoors, cluster them together, wrap the pots in burlap or bubble wrap, and mulch heavily around the base of the plant.
- Consider zones: In USDA Zones 7-11, where winters are milder, this level of protection is usually unnecessary unless an exceptionally cold snap is predicted.
5. Light Soil Amendment (If Needed, Not Heavy Feeding)
Fall is not the time for heavy fertilization, as this encourages new, tender growth that will be vulnerable to frost damage. However, a gentle soil amendment can be beneficial.
- What to do: If your soil is very poor or you want to slightly adjust pH for bloom color, a light application of compost or well-rotted manure worked into the topsoil around the drip line can provide slow-release nutrients and improve soil structure.
- pH for color: If you’re trying to influence the bloom color of bigleaf hydrangeas (blue in acidic soil, pink in alkaline), a fall application of soil acidifier (like elemental sulfur) or aluminum sulfate for blue blooms, or garden lime for pink blooms, can start working its magic slowly over winter. Test your soil pH first to know what it needs.
2 Common Hydrangea Winter Prep Mistakes to Avoid
1. Heavy Fall Pruning (Especially for Old-Wood Bloomers)
As mentioned, this is the most common and detrimental mistake. Many gardeners, accustomed to pruning other shrubs heavily in fall, apply the same logic to hydrangeas, often to their dismay the following spring.
- Why it’s a mistake: For Bigleaf (H. macrophylla) and Oakleaf (H. quercifolia) hydrangeas, pruning heavily in fall removes the flower buds that have already formed on old wood for the next season. The result? No blooms, or very few, come spring. Even for new-wood bloomers like Panicle (H. paniculata) and Smooth (H. arborescens) hydrangeas, heavy fall pruning can encourage new growth too late in the season, which is then highly susceptible to frost damage.
- Instead: Stick to the light pruning and deadheading described in Task 1. Save any significant shaping or size reduction for late winter or early spring for new-wood bloomers, and immediately after flowering for old-wood bloomers.
2. Forgetting About Winter Watering During Dry Spells
Once the initial deep watering is done and the ground freezes, many gardeners assume no more watering is needed. However, periods of mild temperatures and dry, windy conditions during winter can still dehydrate your hydrangeas.
- Why it’s a mistake: Even dormant plants lose moisture through their stems and leaves (if evergreen like some oakleaf varieties). If the ground is not frozen solid and there’s been no significant precipitation for several weeks, the plant can suffer from desiccation, weakening it and making it more vulnerable to actual cold damage.
- Instead: Check the soil during mild winter thaws. If the top few inches are dry and the ground isn’t frozen, give your hydrangeas a deep drink. This is particularly important in regions with erratic winter weather or less snow cover.
Regional Considerations for Hydrangea Winter Care
The extent of your fall hydrangea care will largely depend on your specific climate and USDA Hardiness Zone:
- Zones 3-5 (Cold Climates): Extra protection (mulching, wrapping, moving containers indoors) is crucial for all but the hardiest varieties. Pay close attention to deep watering.
- Zones 6-8 (Temperate Climates): Mulching is generally sufficient, along with proper fall watering. Tender varieties or new plants might benefit from light protection during exceptionally cold periods.
- Zones 9-11 (Warm Climates): Winter protection is usually unnecessary. Focus on light cleanup and ensuring adequate moisture, especially if winter brings dry spells rather than cold.
Always consider your local microclimate and current weather patterns. A sudden cold snap in a typically mild zone can be just as damaging as prolonged cold in a colder zone if plants are unprepared.
Cultivating Resilience and Beauty
Approaching fall hydrangea care with intention and knowledge will pay dividends when spring arrives. By focusing on gentle pruning, thorough hydration, root protection, and avoiding common missteps, you’re not just preparing your hydrangeas for winter; you’re investing in their long-term health and the spectacular floral displays they offer. Take these steps, observe your plants, and look forward to a season filled with magnificent hydrangea blooms, a testament to your careful and thoughtful gardening.