Imagine cultivating a garden where every plant springs from a seed you’ve personally collected, processed, and stored. This practice connects you more deeply with your food and garden, offering numerous benefits: saving money, preserving unique plant varieties, and ensuring your plants are perfectly adapted to your local climate. Seed saving is an ancient art, and it’s surprisingly simple to master with a little guidance. This guide will walk you through the essential steps for saving seeds from eight of the most common and rewarding garden plants: tomatoes, peppers, beans, cucumbers, zucchini, pumpkin, basil, and sunflowers.
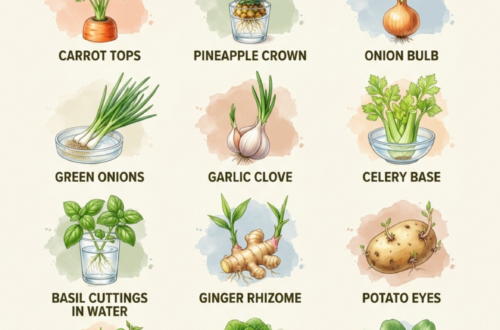
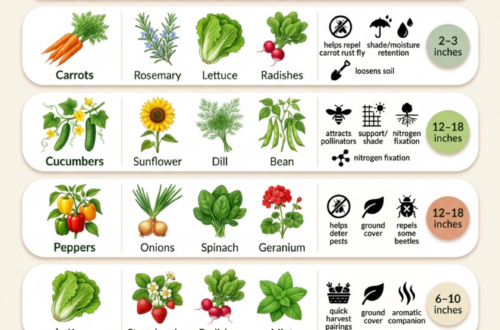
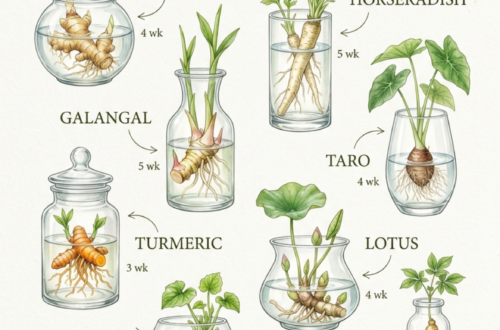
 Visual guide to saving seeds from common garden plants.
Why Save Your Own Seeds?
- Cost Savings: Over time, the cost of purchasing new seeds for every planting season can add up. Saving your own seeds makes gardening more economical.
- Preservation of Varieties: Many heirloom or open-pollinated varieties are not widely available from commercial seed suppliers. Saving seeds allows you to preserve these unique and often superior plants.
- Local Adaptation: Plants grown from saved seeds tend to become more adapted to your specific garden’s soil, climate, and pest pressures over generations, leading to hardier, more productive plants.
- Self-Sufficiency: It fosters a sense of independence and sustainability, knowing you can provide for your garden’s future.
- Genetic Diversity: By saving seeds from the best-performing plants each year, you can actively improve the resilience and yield of your crops.
Understanding Open-Pollinated vs. Hybrid Seeds
Before you start, it’s crucial to understand the difference between open-pollinated (OP) and hybrid (F1) seeds:
- Open-Pollinated (OP) Seeds: These seeds are produced by natural pollination (by wind, insects, or self-pollination). When you save seeds from an OP plant, they will grow true to the parent plant, meaning the offspring will have characteristics very similar to the plant they came from. Heirloom varieties are a type of open-pollinated plant that has been passed down through generations.
- Hybrid (F1) Seeds: These are created by cross-pollinating two different parent plants to achieve specific desirable traits (like disease resistance or higher yield). However, if you save seeds from an F1 hybrid, the offspring (F2 generation) will likely not resemble the parent plant. They might revert to one of the parent traits or produce unpredictable results, often losing the desired characteristics.
For successful seed saving, always choose open-pollinated varieties. Check your seed packets for labels like ‘OP’, ‘Heirloom’, or ‘Open Pollinated’.
General Principles of Seed Saving
While each plant has specific needs, some general rules apply to almost all seed saving:
- Choose Healthy, Productive Plants: Select seeds from your strongest, healthiest, and most productive plants. Avoid plants showing signs of disease or pest damage.
- Allow Fruit/Seeds to Fully Mature: For most vegetables, this means letting the fruit ripen past its eating stage. For herbs and flowers, allow seed heads to fully dry on the plant.
- Clean Thoroughly: Remove all pulp, chaff, or debris from the seeds. This prevents mold and ensures proper drying.
- Dry Properly: Seeds must be completely dry before storage. This prevents mold and preserves viability. Spread them on screens, paper plates, or coffee filters in a well-ventilated area, away from direct sunlight.
- Store Correctly: Keep seeds in a cool, dark, and dry environment.
Detailed Guides for Saving Seeds
Here’s how to save seeds from eight popular garden favorites, categorized by their preferred method:
1. Tomatoes (Wet Method)
Tomato seeds are best saved using a fermentation method, which removes a germination-inhibiting gel coating.
- Selection: Choose fully ripe, healthy tomatoes from open-pollinated plants. Let them ripen even further than you would for eating.
- Extraction: Cut the tomatoes open and scoop out the seeds and gel into a small jar or container. Add a little water if needed.
- Fermentation: Cover loosely (e.g., with a paper towel or cloth) and leave at room temperature for 2-5 days. A layer of mold may form on top, and the seeds will sink to the bottom. This process breaks down the gel coating and kills most seed-borne diseases.
- Cleaning: Once fermented, pour off the moldy layer and rinse the viable seeds thoroughly under running water using a fine-mesh sieve.
- Drying: Spread the clean seeds thinly on a non-stick surface (glass, ceramic plate, coffee filter, or screen) to dry completely. Stir them daily. This can take 1-2 weeks. Ensure they don’t clump together.
2. Peppers (Dry Method)
Pepper seeds are much simpler to save, requiring only a dry method.
- Selection: Pick fully ripe peppers (they should be their mature color – red, yellow, orange, etc., not green) from healthy, open-pollinated plants.
- Extraction: Cut the pepper open and carefully scrape the seeds from the core and inner walls.
- Cleaning: Discard any pulp or fibrous material. You don’t need to wash pepper seeds.
- Drying: Spread the seeds in a single layer on a paper plate or screen in a warm, dry, well-ventilated area out of direct sun. Allow them to dry for at least 2-3 weeks, or until they snap rather than bend.
3. Beans (Dry Pod Method)
Beans are one of the easiest seeds to save as they dry on the plant.
- Selection: Allow bean pods to fully mature and dry on the plant. They should turn brown, shrivel, and become brittle.
- Harvest: Once the pods are completely dry and rattle when shaken, harvest them.
- Shelling: Crack open the dry pods and remove the beans. Discard any shriveled, discolored, or insect-damaged beans.
- Drying (Optional): If the beans feel even slightly soft, spread them out for a few more days to ensure they are fully dry before storage.
4. Cucumbers (Wet Method)
Like tomatoes, cucumbers require a fermentation process to clean their seeds effectively.
- Selection: Let cucumbers mature past their eating stage. They should turn yellow, orange, or a pale green, and become quite soft.
- Extraction: Cut the cucumber in half lengthwise, scoop out the seeds and pulp into a jar.
- Fermentation: Add a little water, cover loosely, and allow to ferment for 3-5 days. Stir daily. The viable seeds will sink, and a moldy layer will form on top.
- Cleaning: Pour off the moldy top layer and rinse the seeds thoroughly in a fine-mesh sieve.
- Drying: Spread the clean seeds on a non-stick surface or screen to dry completely for 1-2 weeks, stirring occasionally.
5. Zucchini & Pumpkin (Dry Method)
Squash seeds are straightforward to save, similar to peppers.
- Selection: Allow the fruit to mature fully on the vine, even past the point of being edible. For winter squash (like pumpkin), this means a hard rind. For zucchini, let it grow very large and hard.
- Extraction: Cut open the fruit and scoop out the seeds and stringy pulp.
- Cleaning: Separate the seeds from the pulp. A quick rinse can help, but ensure all pulp is removed.
- Drying: Spread the clean seeds in a single layer on a screen or paper plate in a well-ventilated area until completely dry (1-3 weeks).
6. Basil (Dry Method from Flower)
Basil seeds are tiny and collected from dried flower heads.
- Selection: Allow a few basil plants to ‘bolt’ or go to flower. Let the flowers dry completely on the plant, turning brown and brittle.
- Harvest: Cut the dried flower stalks once they are completely dry.
- Extraction: Gently rub the dried flower heads over a tray or paper to release the tiny black seeds.
- Cleaning: Sift or winnow away any chaff (dried plant material).
- Drying: Ensure the tiny seeds are thoroughly dry. They may need only a few days spread on a plate.
7. Sunflower (Dry Head Method)
Saving sunflower seeds is about harvesting the entire dried head.
- Selection: Allow sunflower heads to fully mature and dry on the stalk. The back of the head will turn yellow and then brown, and the petals will fall off. You might want to cover the heads with mesh bags to protect them from birds.
- Harvest: Cut the dried head from the stalk, leaving a few inches of stem.
- Extraction: Rub the dry seeds off the head with your hands or a stiff brush.
- Cleaning: Remove any debris or bits of the head.
- Drying (Optional): If the seeds feel soft or moist, spread them on a screen or tray for a few days to ensure they are fully dry.
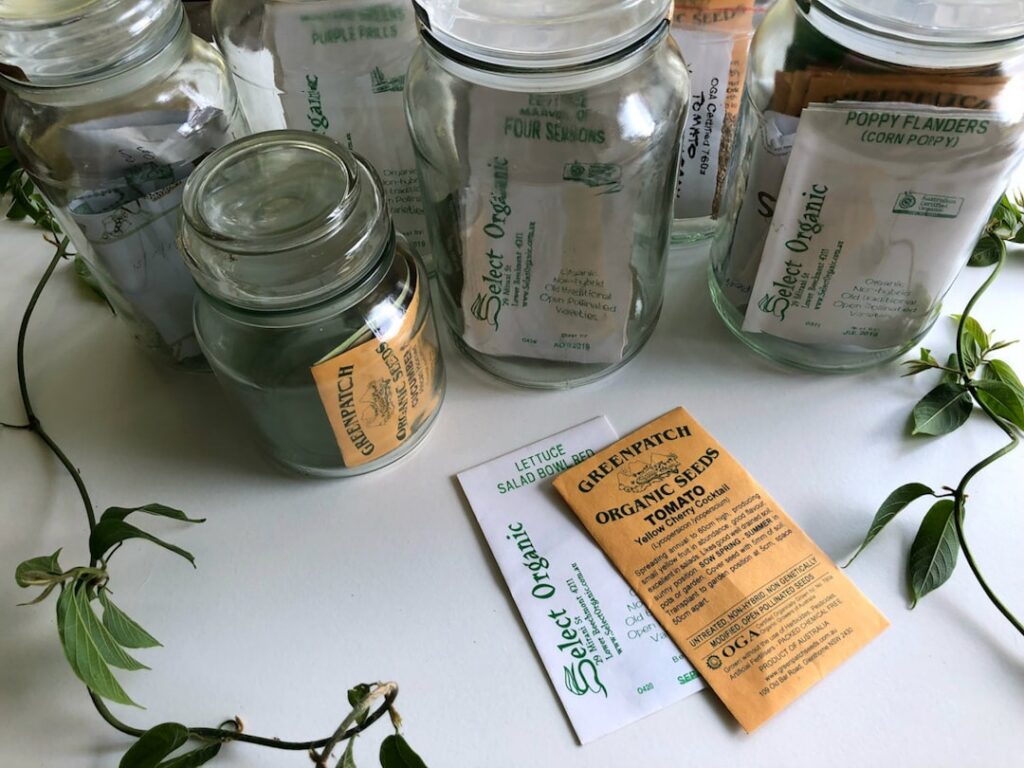 Properly dried and labeled seeds, ready for storage.
Common Mistakes to Avoid
- Saving from Hybrid Plants: As mentioned, F1 hybrids won’t produce true-to-type seeds.
- Not Drying Seeds Enough: This is the most common mistake. Moisture leads to mold and reduces viability.
- Not Labeling Seeds: You might think you’ll remember, but you won’t! Always label with the plant name and date of collection.
- Poor Storage Conditions: Heat, light, and humidity are enemies of stored seeds.
- Not Saving Enough Seeds: Aim to save more than you think you’ll need, to account for potential germination issues.
Storing Your Saved Seeds
Once your seeds are thoroughly dry, proper storage is key to maintaining their viability for future seasons:
- Containers: Use airtight containers such as glass jars, sealed plastic bags, or small paper envelopes. Glass jars with tight lids are ideal for long-term storage, especially if you add a desiccant pack.
- Labeling: Clearly label each container with the plant variety, the date the seeds were saved, and any other relevant notes (e.g., ‘from best producer’).
- Location: Store seeds in a cool, dark, and dry place. A pantry, closet, or even a refrigerator (if kept perfectly dry) can work well. Consistent temperature is more important than extreme cold.
- Moisture Control: For humid environments, consider adding a small packet of silica gel or a tablespoon of powdered milk (wrapped in a tissue or coffee filter) to your sealed container to absorb any lingering moisture.
Conclusion
Saving seeds is a truly rewarding aspect of gardening that closes the loop on your growing season. It empowers you to be more self-sufficient, connect with the lineage of your plants, and even contribute to preserving biodiversity. With a little patience and attention to detail, you’ll soon be growing thriving plants from your very own saved seeds, year after year. Happy gardening!