Are you eager to see your garden flourish but find yourself waiting endlessly for seeds to sprout? You’re not alone! Many gardeners face the frustration of slow or inconsistent germination. But what if there was a simple, natural trick to give your seeds a head start? Enter seed soaking – a time-tested technique that can significantly accelerate the sprouting process and boost your gardening success!
Seed soaking is like hitting the fast-forward button on nature. By providing your seeds with the perfect initial environment, you can help them break dormancy faster, soften their tough outer shells, and kickstart the growth process. Imagine plump, eager sprouts emerging days earlier than expected, ready to grow into thriving plants for your home harvest. Let’s dive into how this easy method can transform your gardening game!
What is Seed Soaking and Why Does it Work?
Seed soaking is exactly what it sounds like: submerging your seeds in water before planting. While it might seem overly simple, the science behind it is fascinating and effective. Seeds often have natural inhibitors that keep them dormant until conditions are just right – this is nature’s way of ensuring survival. Soaking helps in a few key ways:
- Breaks Dormancy: Water signals to the seed that it’s time to wake up and start growing. It mimics the natural process of rain saturating the soil.
- Softens Seed Coats: Many seeds, especially larger ones or those with hard shells (like beans or peas), have tough outer coatings. Soaking softens these coats, making it easier for the embryo inside to emerge and for roots to penetrate.
- Rehydrates the Embryo: Dry seeds are essentially dehydrated embryos. Soaking rehydrates the internal structures, activating the metabolic processes necessary for growth.
- Washes Away Inhibitors: Some seeds have chemical inhibitors on their surface that prevent germination. Soaking can help wash these away, clearing the path for growth.
Which Seeds Benefit Most from Soaking?
Not all seeds need soaking, and some tiny seeds can even be harmed by it. However, many common garden seeds respond wonderfully to a pre-planting bath. Generally, seeds with hard coats or larger seeds are the best candidates.
Legumes and Large Seeds
These are often the star pupils of the soaking method. Their tough exteriors and significant size make them perfect for absorbing water and getting a jump start.
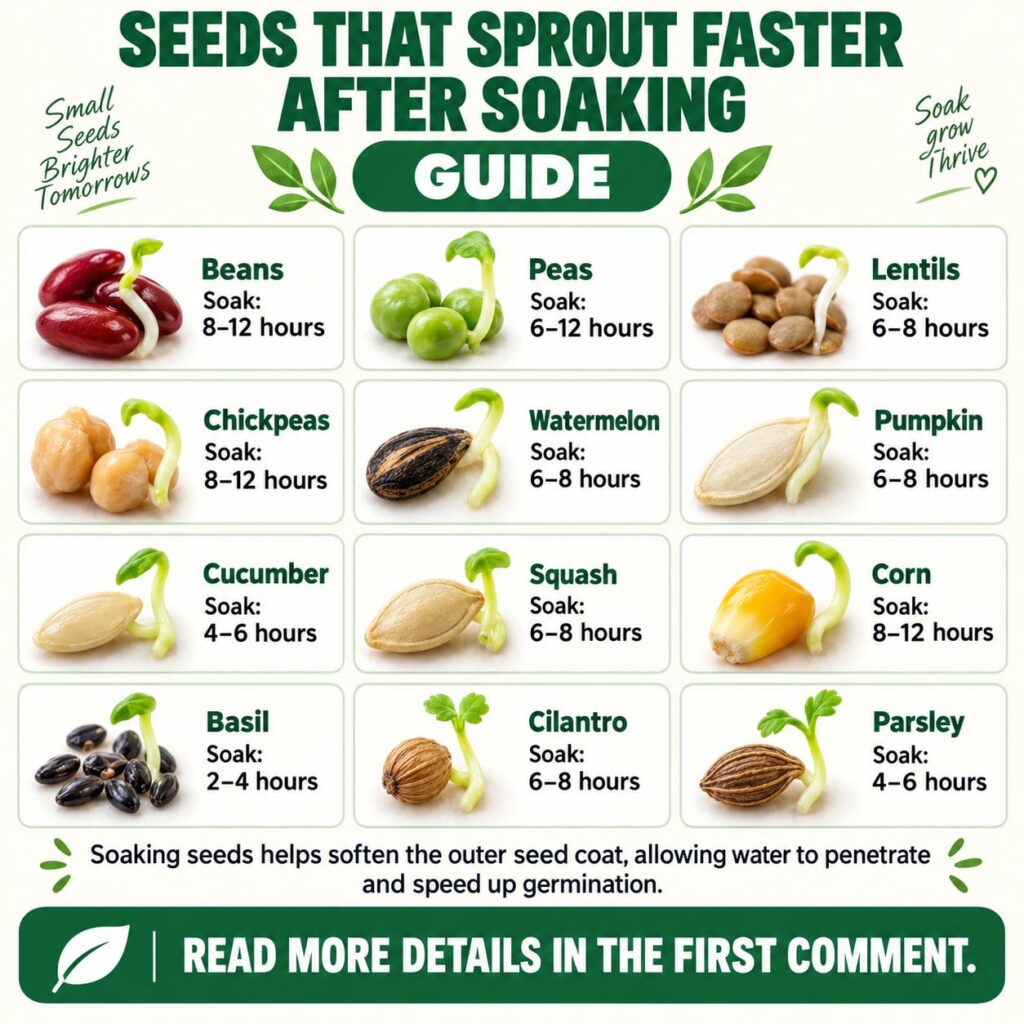
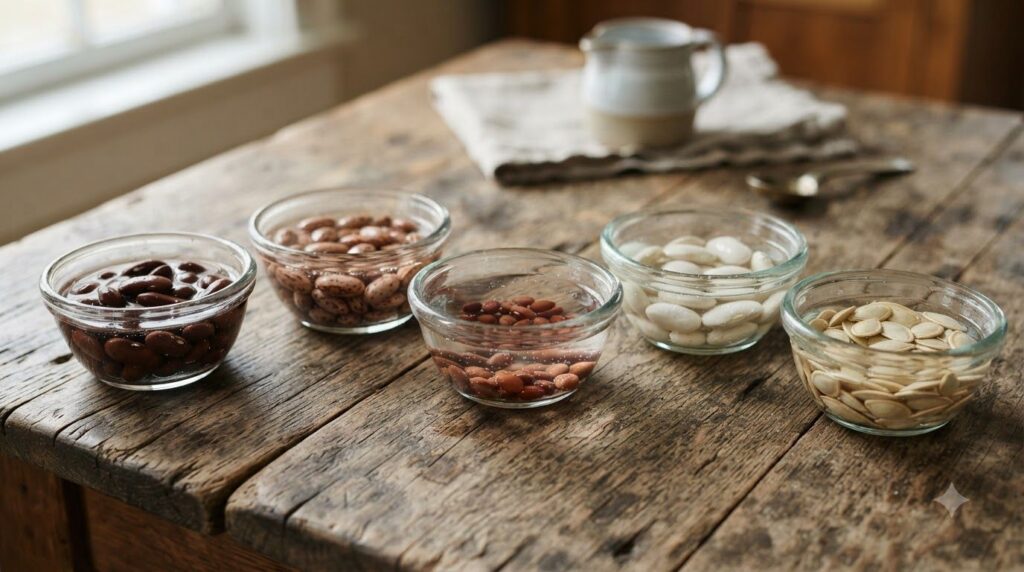
- Beans (e.g., green beans, pole beans)
- Peas (e.g., snap peas, shelling peas)
- Lentils
- Chickpeas
- Corn
Squash Family
Most members of the cucurbit family have relatively hard shells and benefit from softening before planting.
- Watermelon
- Pumpkin
- Cucumber
- Squash (e.g., zucchini, butternut squash)
Some Herbs
Certain herbs with slightly tougher or less permeable seed coats can also benefit.
- Basil
- Cilantro
- Parsley
Always do a quick check for your specific seed type if you’re unsure. As a rule of thumb, if the seed feels hard or looks substantial, soaking is likely a good idea.
How to Soak Seeds: A Simple Step-by-Step Guide
The process is wonderfully straightforward. You don’t need fancy equipment, just a few basic items and a little patience.
-
Gather Your Supplies
You’ll need a small bowl or jar for each type of seed, lukewarm water (not hot!), and a marker if you’re soaking different kinds.
-
Choose Your Seeds
Select the seeds you intend to soak. Ensure they are fresh and viable for the best results.
-
Place Seeds in Water
Submerge your seeds in lukewarm water. The water should cover the seeds by about an inch or two.
-
Observe Soaking Times
This is crucial! Different seeds have different needs. Refer to the general guide below, but remember these are guidelines.
-
Drain and Plant Immediately
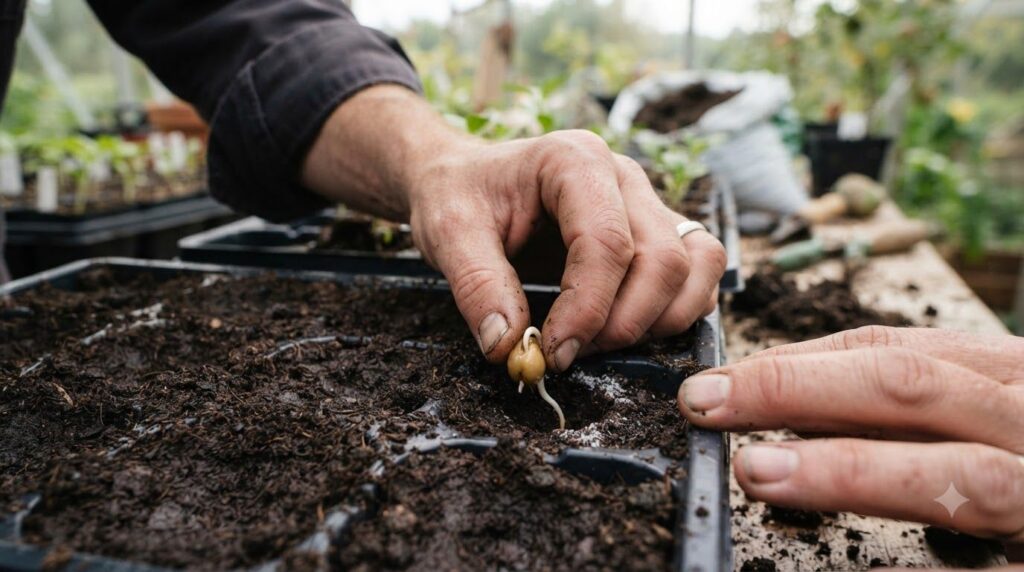
Once the soaking time is up, drain the water thoroughly. Your seeds are now ready and eager to be planted in their prepared soil. Do not let them dry out.
Recommended Soaking Times (General Guide)
- 12-24 hours: Most large seeds like beans, peas, corn, pumpkin, squash, watermelon, cucumber, chickpeas, and lentils. For very hard seeds, you might go up to 48 hours, changing the water after 24 hours to prevent fermentation.
- 6-12 hours: Medium-sized seeds and some herbs like basil, cilantro, and parsley. Monitor these closely, as they can sometimes become mushy if over-soaked.
These times are general starting points. Pay attention to your seeds; they will often visibly plump up and swell as they absorb water.
Tips for Successful Seed Soaking
- Use Fresh, Viable Seeds: Older seeds may have reduced germination rates, regardless of soaking.
- Use Lukewarm, Not Hot, Water: Water that’s too hot can damage the delicate embryo within the seed. Lukewarm water is gentle and effective.
- Don’t Soak Extremely Small Seeds: Tiny seeds (like carrots, lettuce, or petunias) are usually not good candidates for soaking as they can become difficult to handle and may not benefit much.
- Change Water for Longer Soaks: If you’re soaking seeds for more than 12-24 hours, change the water every 12-24 hours to keep it fresh and prevent mold or fermentation.
- Plant Immediately After Soaking: Soaked seeds are vulnerable. Plant them as soon as possible after draining to prevent them from drying out or rotting.
Common Mistakes to Avoid
- Over-soaking: Leaving seeds in water for too long can actually drown them or lead to rot and disease. They need oxygen to germinate.
- Soaking Tiny Seeds: As mentioned, very small seeds become incredibly difficult to handle and plant when wet, and they generally don’t require soaking.
- Using Hot Water: This can literally cook the seed embryo, making it unviable. Stick to lukewarm or room temperature water.
- Delaying Planting: Once soaked, a seed is activated. If it dries out again or isn’t planted promptly, its energy reserves can be depleted, or it can become susceptible to pathogens.
Conclusion: Your Garden’s Head Start
Seed soaking is a powerful yet simple tool in any gardener’s arsenal. By understanding which seeds benefit and how to do it correctly, you can significantly improve your germination rates, accelerate sprouting, and get your garden off to the best possible start. It’s a small effort with big rewards, leading to healthier, more robust plants and a more abundant home harvest.
So, the next time you’re planning to plant, consider giving your seeds a little pre-soak. You’ll be amazed at how quickly those tiny seeds transform into eager sprouts, ready to grow into the vibrant garden of your dreams!