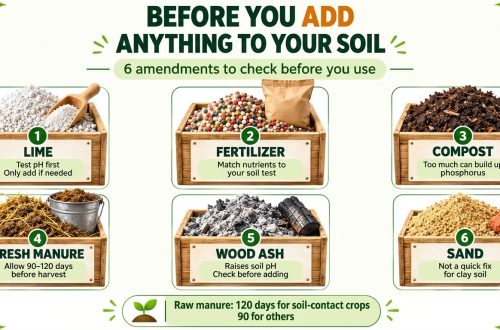
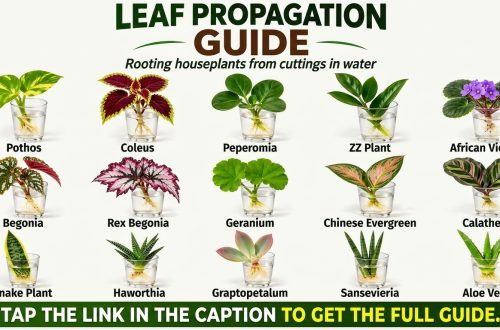
Growing new houseplants from cuttings is one of the most rewarding projects a plant lover can try. With a glass of water, a sharp pair of scissors, and a bright spot near a window, you can turn one healthy plant into several new ones. This guide walks through the basics of water propagation, explains which plants root well in water, and shares practical tips to help your cuttings develop strong, healthy roots.
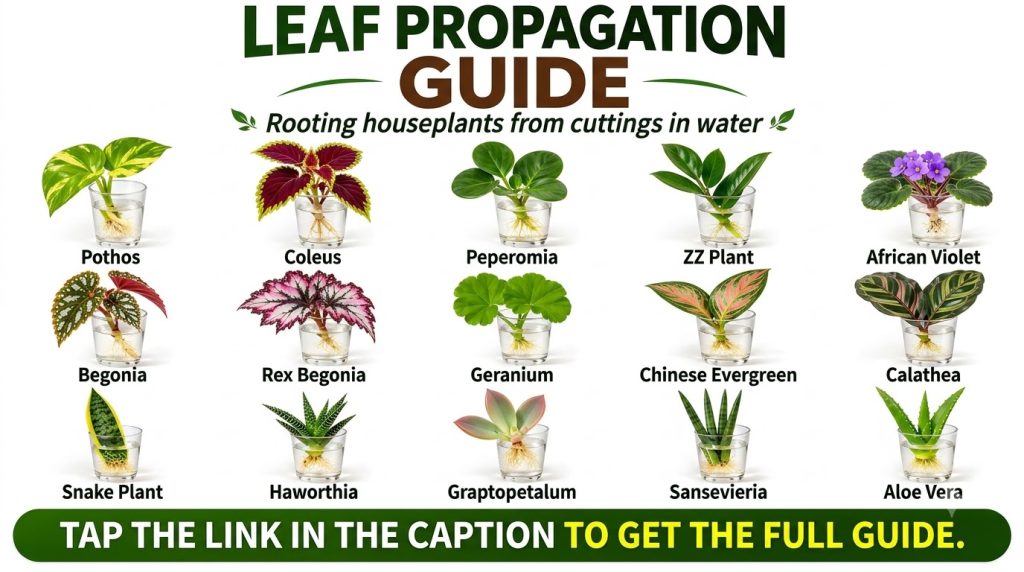
Why Water Propagation Works
Water propagation lets you watch roots form in real time. Because you can see the roots clearly through the glass, it is easy to check progress and spot problems early. This method is also a friendly starting point for beginners who feel unsure about planting cuttings directly into soil.
Many common houseplants form roots readily when a stem section with a node is placed in water. The node is the small bump on the stem where leaves and roots naturally emerge, and it is the key part of the cutting.
Choosing Healthy Cuttings
The success of your propagation starts with the cutting itself. Look for a healthy stem with several leaves, firm tissue, and no signs of pests, rot, or disease. Avoid stems that are yellow, mushy, or damaged.
- Select a stem about 4 to 6 inches long when possible.
- Make a clean cut just below a node using sharp, sterilized scissors or pruning shears.
- Remove the lowest leaves so that no foliage sits below the waterline.
Setting Up Your Water Jar
Use a clear glass or jar so you can monitor root growth. Fill it with room-temperature water, and place the cutting so the nodes are submerged while the upper leaves stay above the water. Wash the container before use to reduce the chance of bacteria building up.
Place the jar in bright, indirect light. A spot near an east-facing or north-facing window often works well. Direct harsh sun can overheat the water and stress the cutting.
Caring for Cuttings While They Root
Consistent care helps cuttings root steadily. Change the water every few days, or whenever it looks cloudy, to keep it fresh and oxygenated. Rinsing the stem gently during water changes can also help keep the environment clean.
Roots typically take several weeks to develop, and the timing depends on the plant species, the season, and the light available. Be patient and avoid pulling on the cutting to check on it.
When to Move Cuttings to Soil
Once the roots are about one to two inches long and look sturdy, the cutting is usually ready for potting. Use a light, well-draining potting mix and keep the soil lightly moist during the first few weeks. Water roots can be more delicate than mature roots, so gently transition the plant to soil and provide stable humidity and indirect light while it adjusts.
Common Mistakes to Avoid
- Leaving leaves submerged, which can lead to rot.
- Using dirty containers or water that stays stagnant for too long.
- Placing cuttings in very dark corners where growth slows down.
- Moving the cutting to soil before the roots are well developed.
Tips for Success
Propagating in spring or early summer often gives the best results, since many houseplants are actively growing during these months. Label your jars with the plant name and the date you started them so you can track progress. Keeping a simple garden journal can also make it easier to learn which plants root quickly in your home conditions.
Water propagation is a simple, low-cost way to expand your indoor garden, share plants with friends, and deepen your understanding of how plants grow. Save this guide for your next cutting session, and enjoy watching your green collection grow one root at a time!